
How to Create a New App from Template?
- Only the Admin of your organization has access to create new Applications in the platform.
- App/Application: A digital form within the Wavity platform.
- App Designer: An interactive, zero-code development environment for designing app layouts with form fields using data controls and properties.
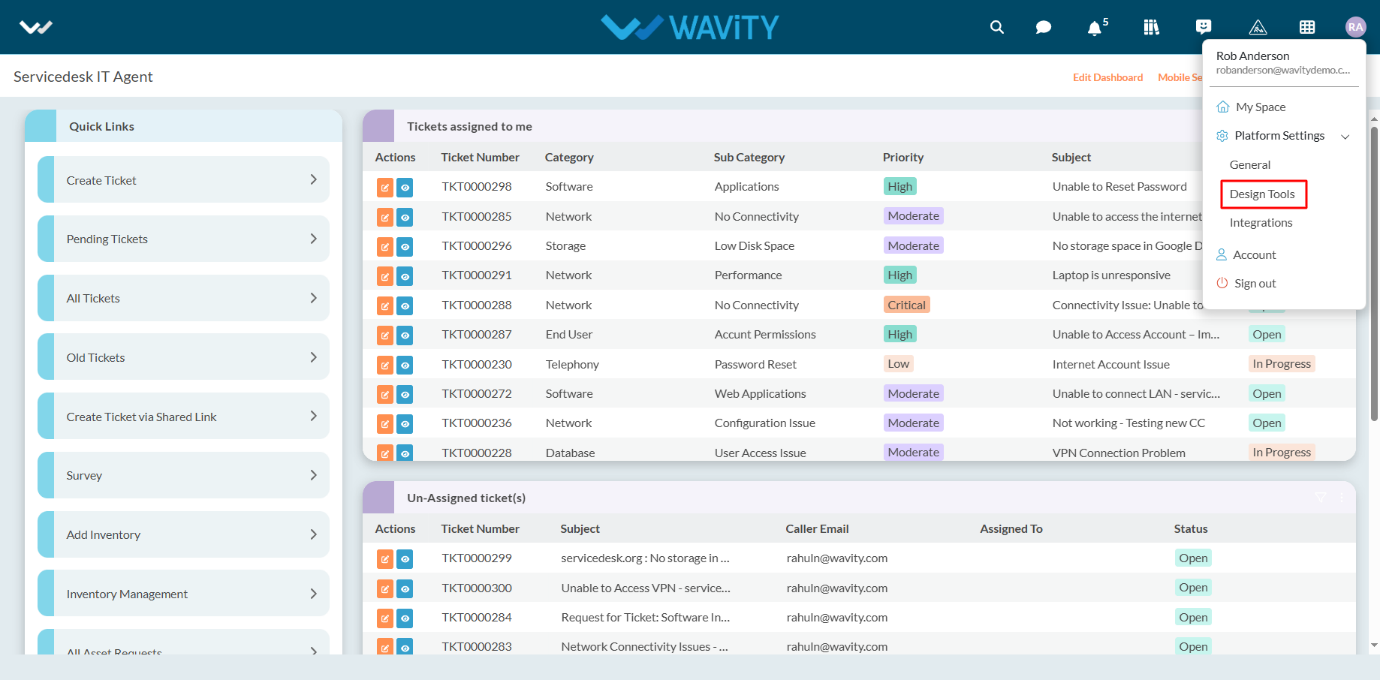
- Click on “Design Tools” as shown below.
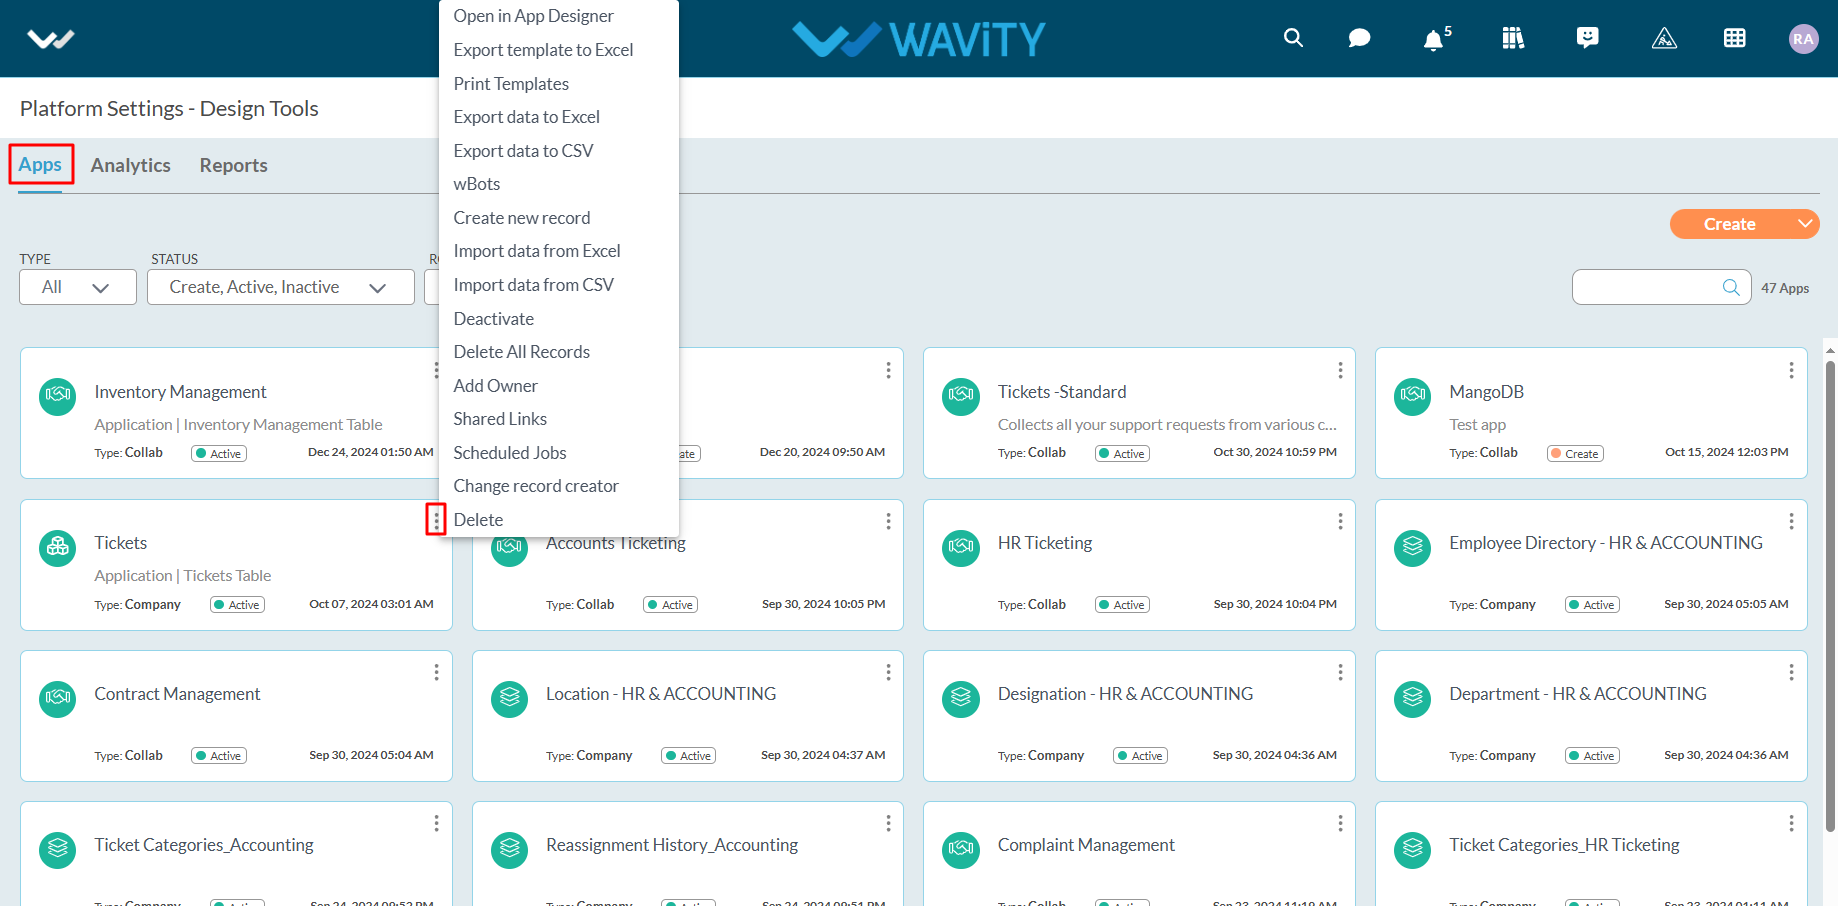
- In “Apps” section, All the existing applications of the platform will be displayed for the admin.
- Click on “3 dots” icon to carryout multiple functions of the existing application as shown below.
- To create an App: Click on "Create” button as shown below to create a new application. It will display 3 options such as New App, From Excel and From Template.
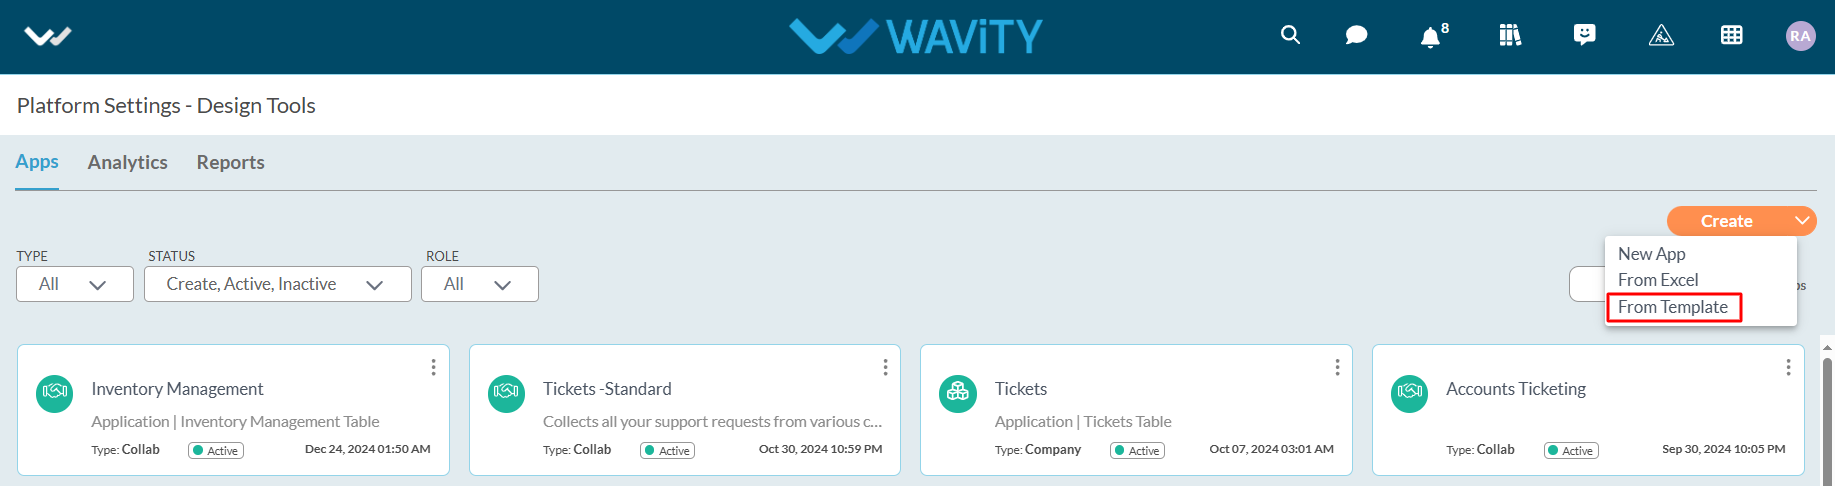
- From Template: If you have an existing app template in Excel format, you can use it to create a new app. To do so, click on the "Create" icon, then select "From Template" from the dropdown menu. Choose the desired template file from your system and click the "Open" button.
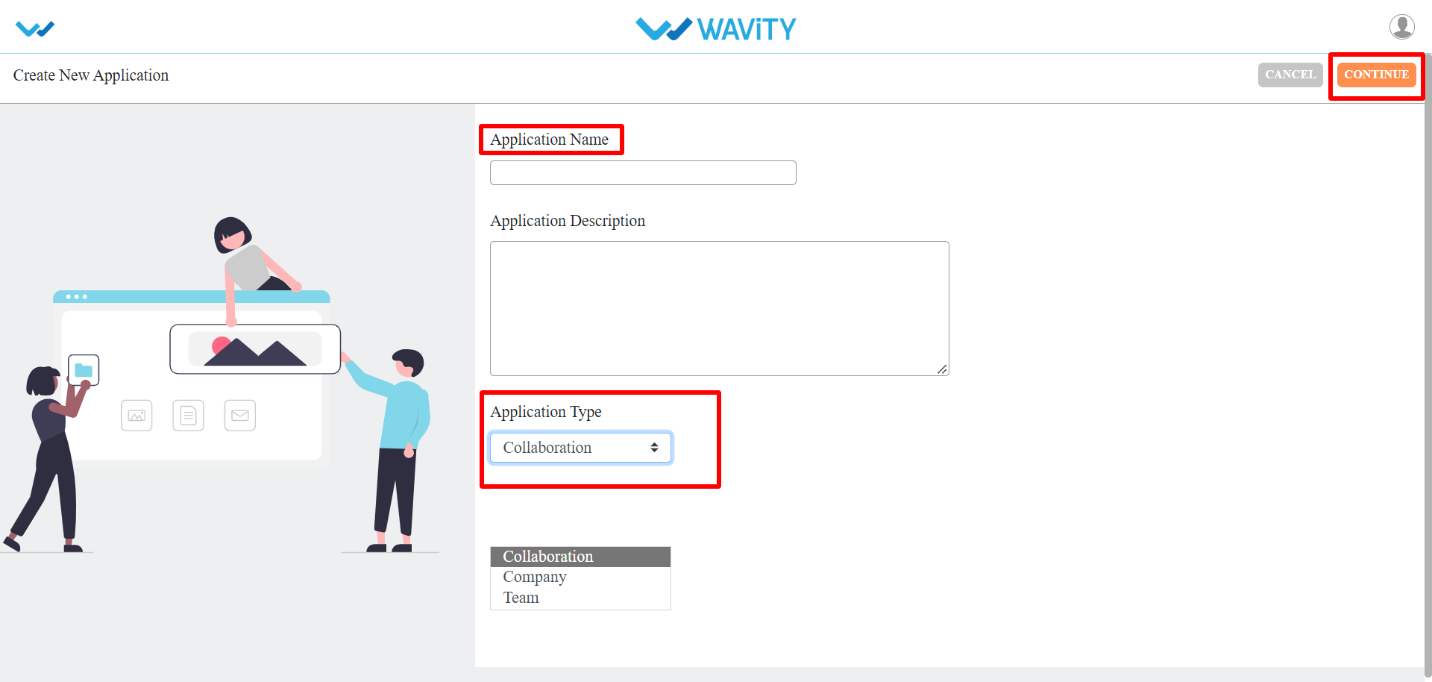
- Next, enter your Application Name and select the Application Type as shown below. Click the "Continue" button to proceed to the App Designer page.
- Collaboration App: All user/groups in the app have access to view and edit all records in that particular app. For example, In Inventory Management application, all agents shall be able to view and edit all asset information only if they have the access.
- Company App: All users in the app have access to view only their records in that particular app. For example, In Ticketing application, each user shall be able to view and edit only the tickets created by them without giving any explicit access to users.
- Team App: All user/groups in the app have access to view only their records in that particular app. For example, In Ticketing application, each user shall be able to view and edit only the tickets created by them by giving access to users.
- All the form fields from the exported template will be displayed in the App Designer (in the center).
- As highlighted in the image below (within the red box), you will find a list of data controls that assist in creating and designing the app. For detailed information on Data controls, please refer the following article: How To Use Data Controls/Form Fields? | Wavity

- Each of the data control has multiple sub-controls.

- Before getting to know each of the data control in detail, for familiar understanding you It shall be better to know few of the prerequisites.
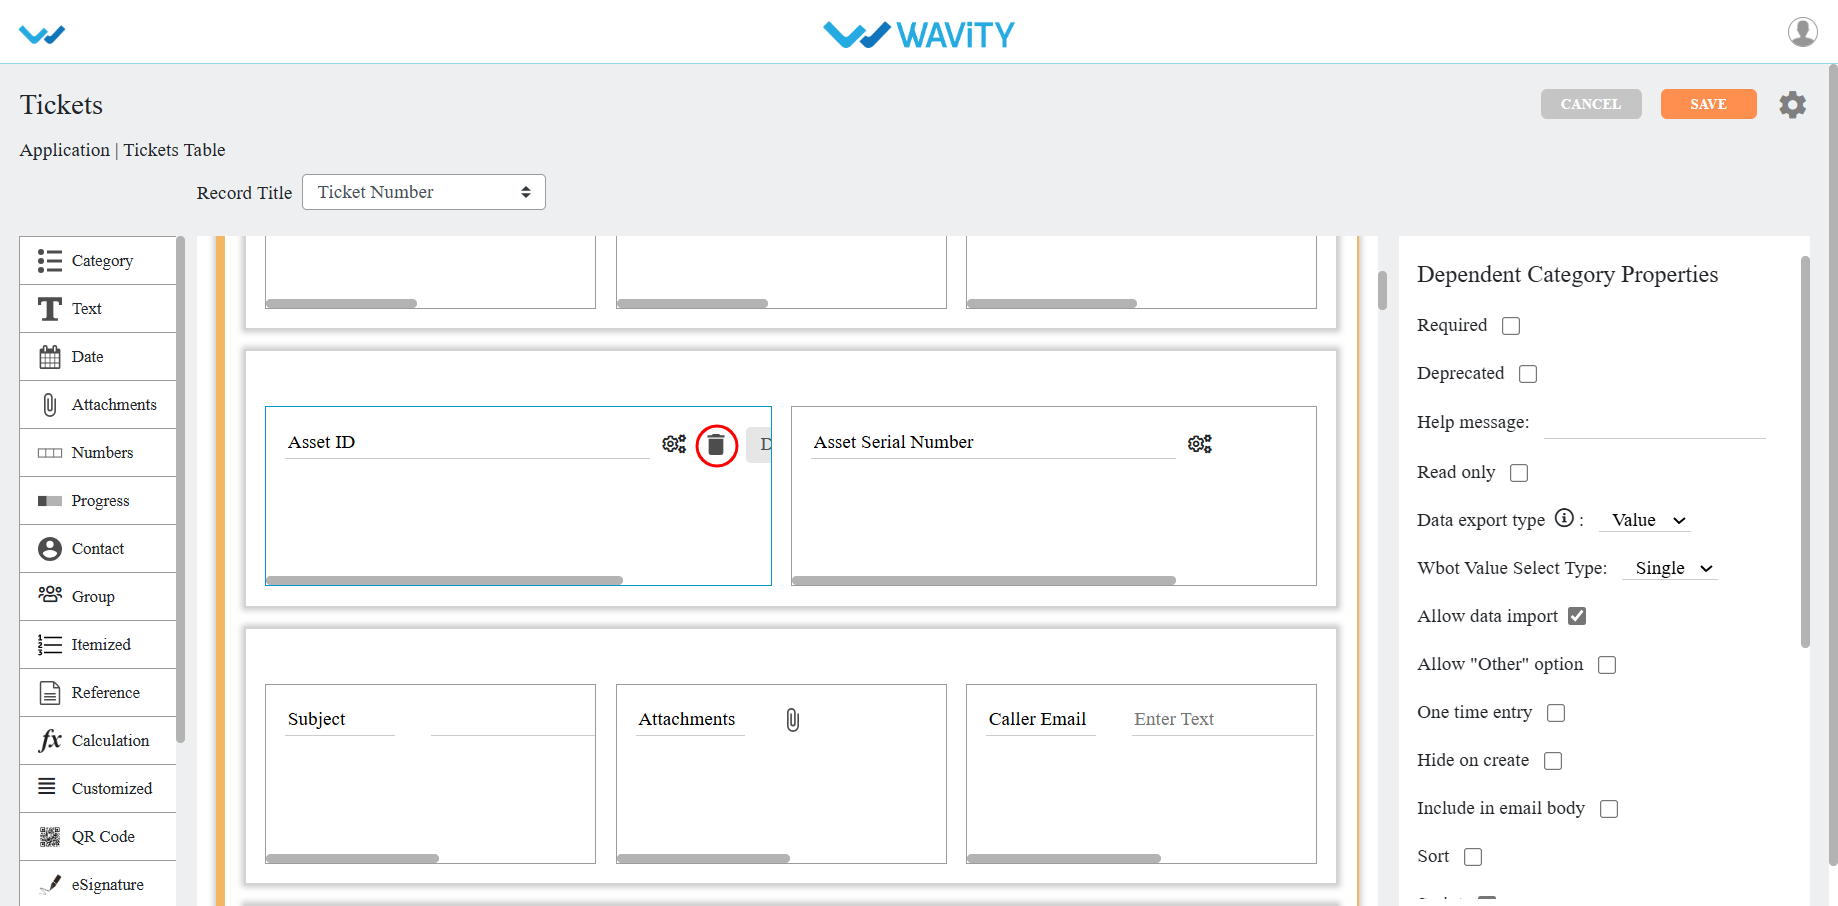
- The Delete option as shown in below image deletes that particular data control.
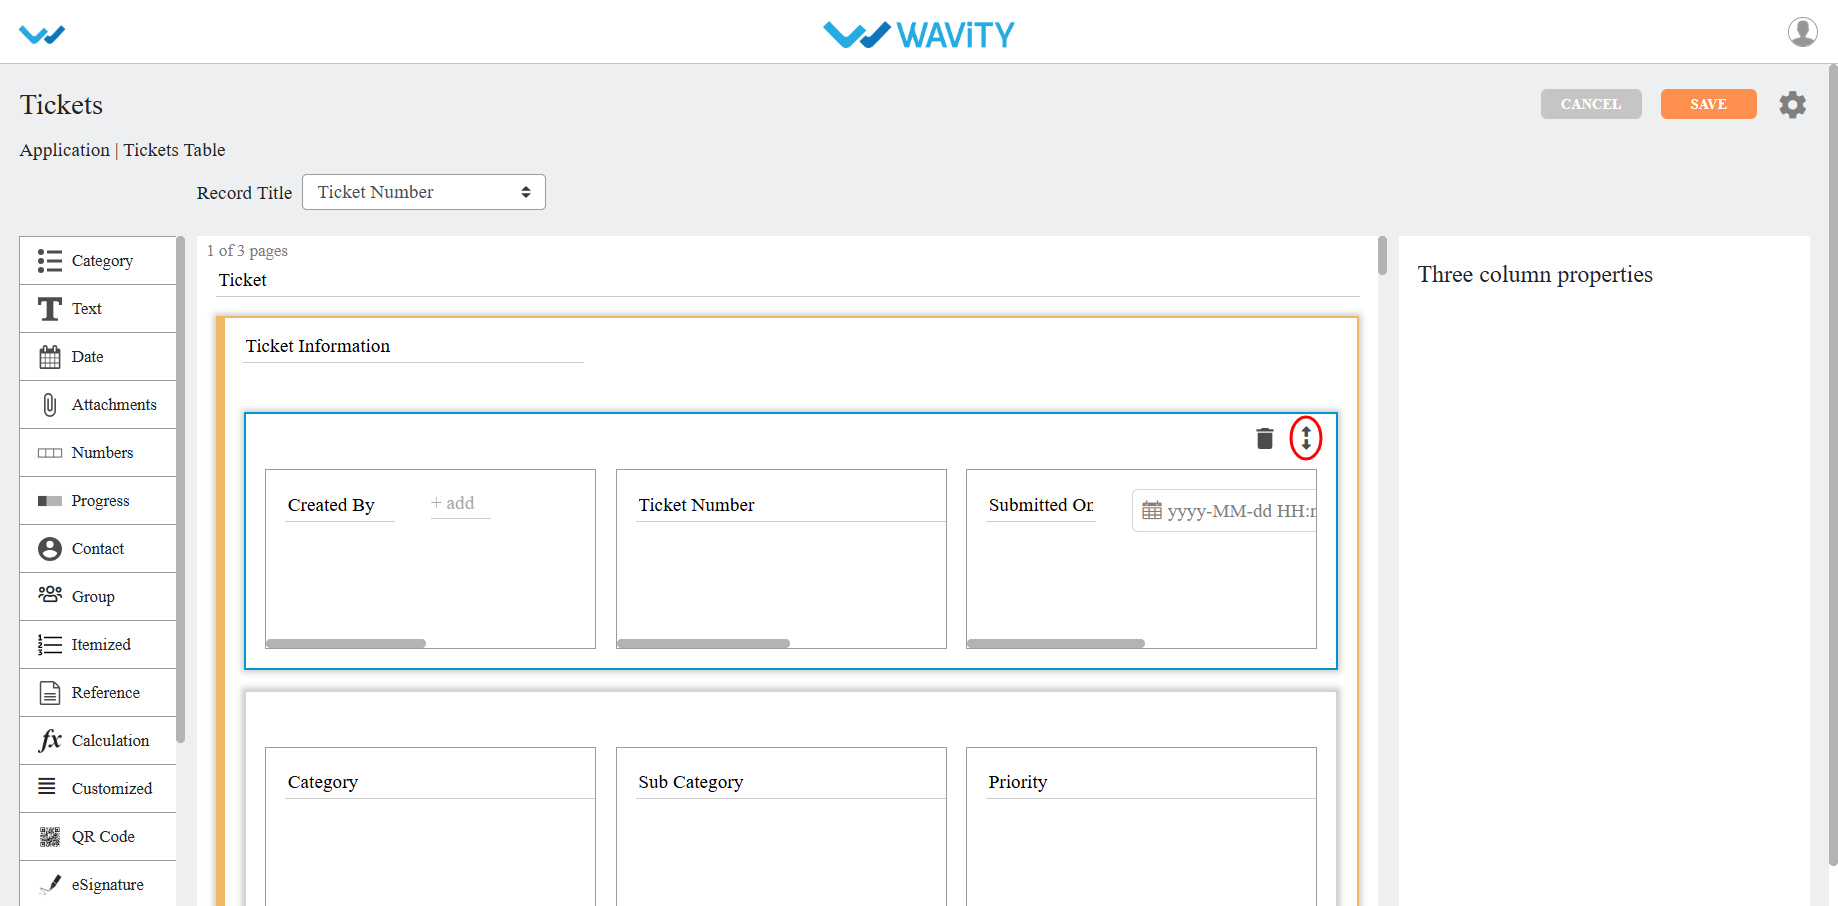
- The double arrow button in the below picture is used to move that particular data control up and down in the page.
- If you click on the arrows as shown in below image, you will find all the sub controls of that particular data control you have selected.
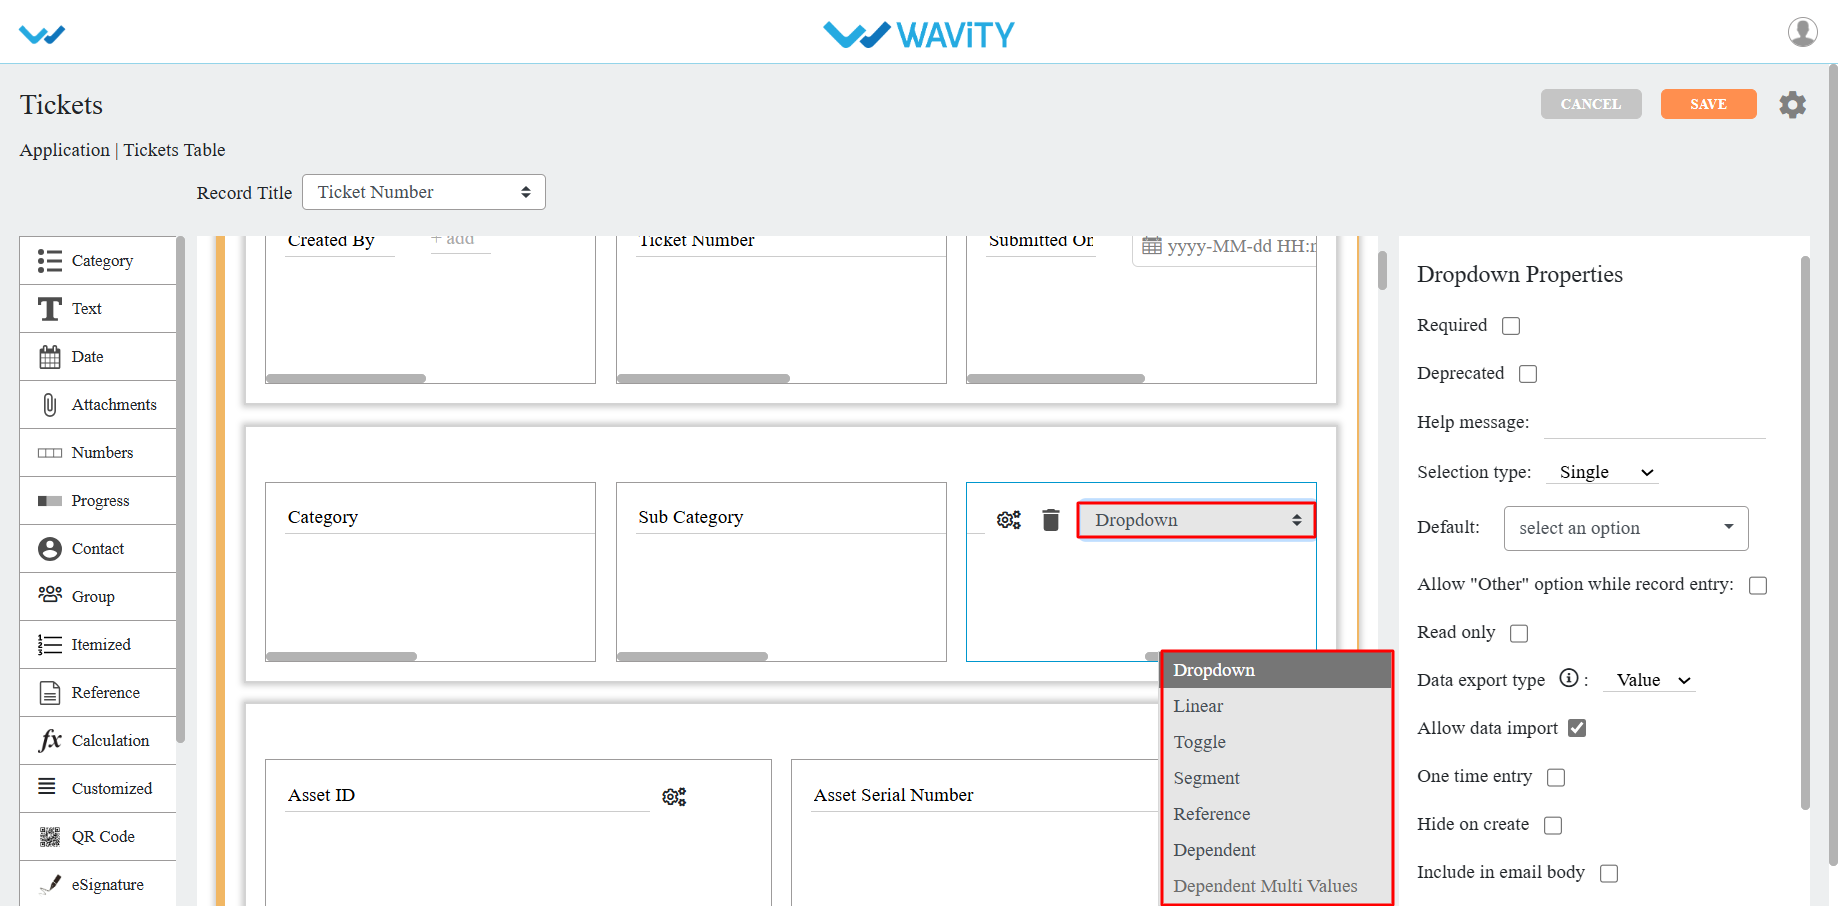
- You can find the properties of each data sub-control in the right corner as shown in image below.
- Common properties for most of the data controls are as follows:
- Required: Marks the field as mandatory.
- Deprecated: Ignores the field during record creation or editing.
- Help Message: Displays a supportive message to assist users in creating records appropriately.
- Field Placeholder: Displays predefined text, e.g., "Enter your name."
- Read Only: Prevents users from entering or editing data in the field.
- Hide: Conceals the data entered by the user in that field.
- Allow to Import Data: Enables importing data into this field using Excel.
- One Time Entry: Allows the user to enter data only once; changes are restricted after saving the record.

- For detailed information on Data controls, please refer the following article: How To Use Data Controls/Form Fields? | Wavity