Setting Up SLA in Wavity
- In Wavity platform, SLA (Service Level Agreement) specifies the maximum time within which a ticket must be responded to or resolved by an agent, based on its priority or severity level. With the help of SLA, you can send notifications, create records, or update existing records.
- To configure the SLA, follow the steps outlined below:
- Only Admin users will have access to create an SLA.
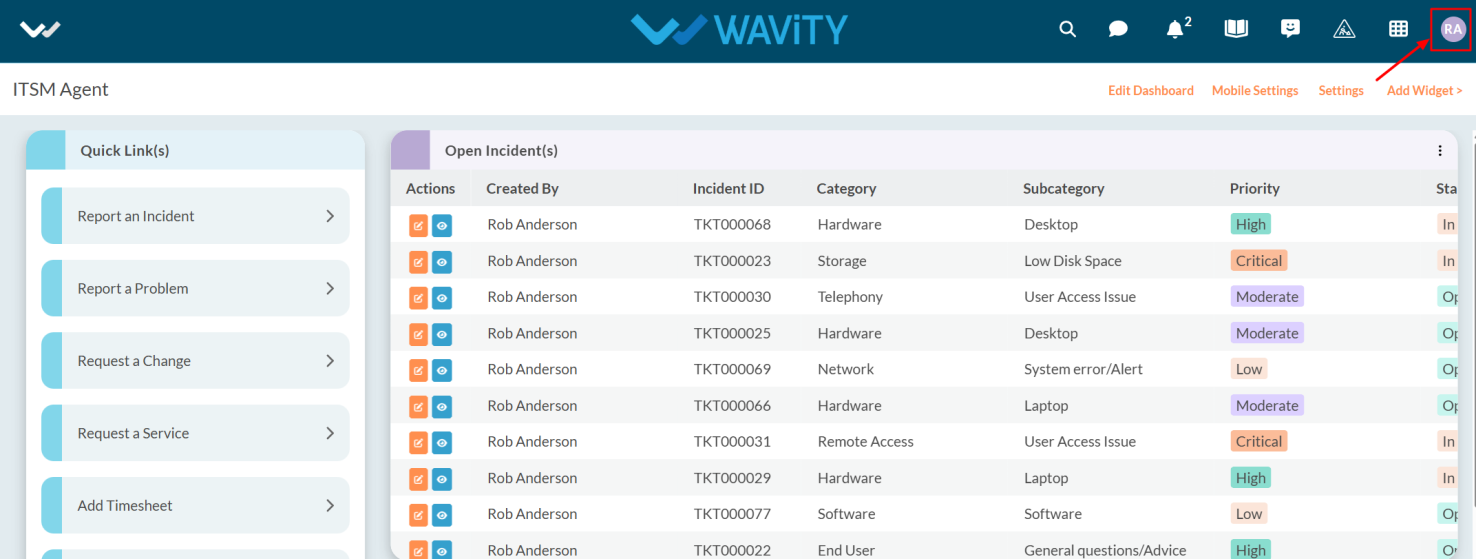
- Click on Profile Icon.
- Select the Design Tools from the options.
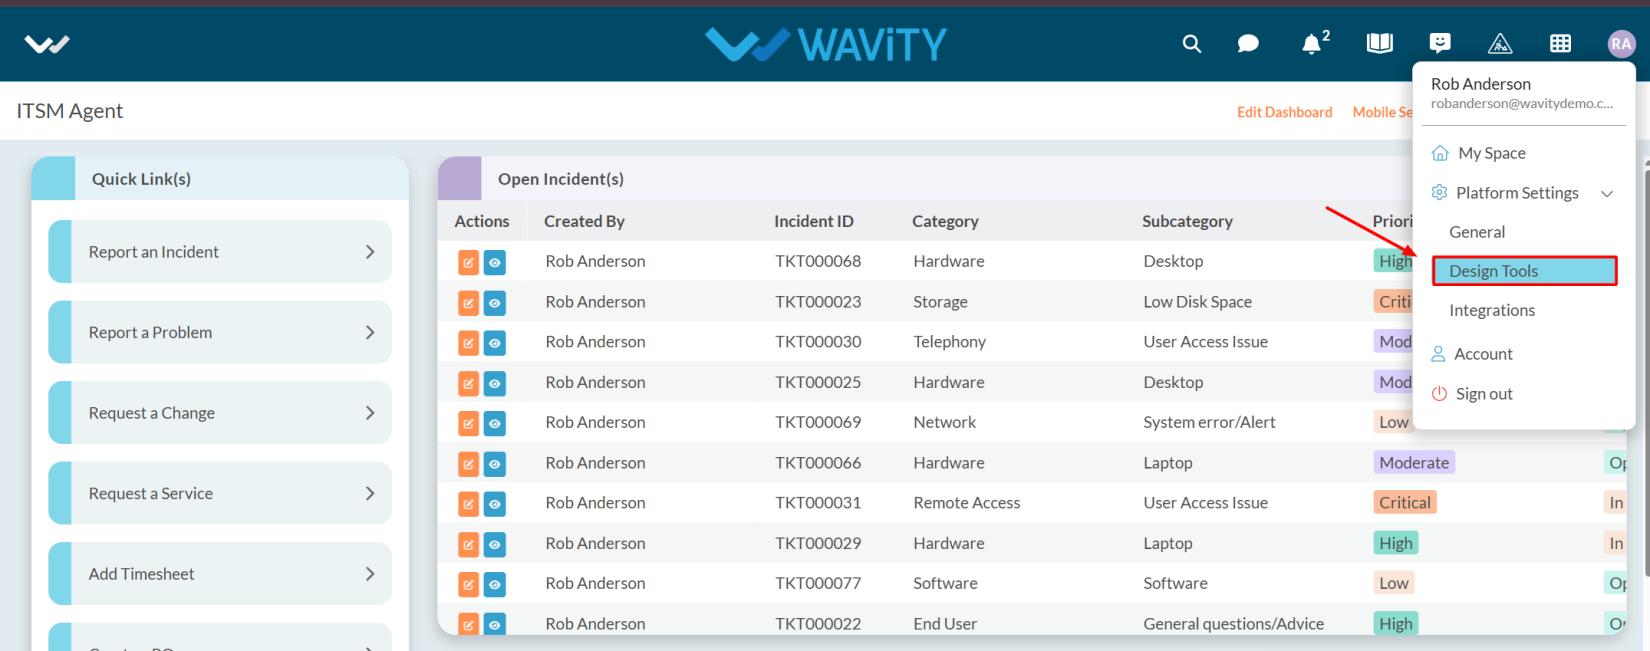
- After selecting Design Tools, you will be redirected to Platform Settings – Design Tools.
- In the Apps tab, select the appropriate app for which you want to enable the SLA feature.
- Click on the three dots.

- Select the Open app designer from the options.
- After making the selection, you will be navigated to the Open App Designer.
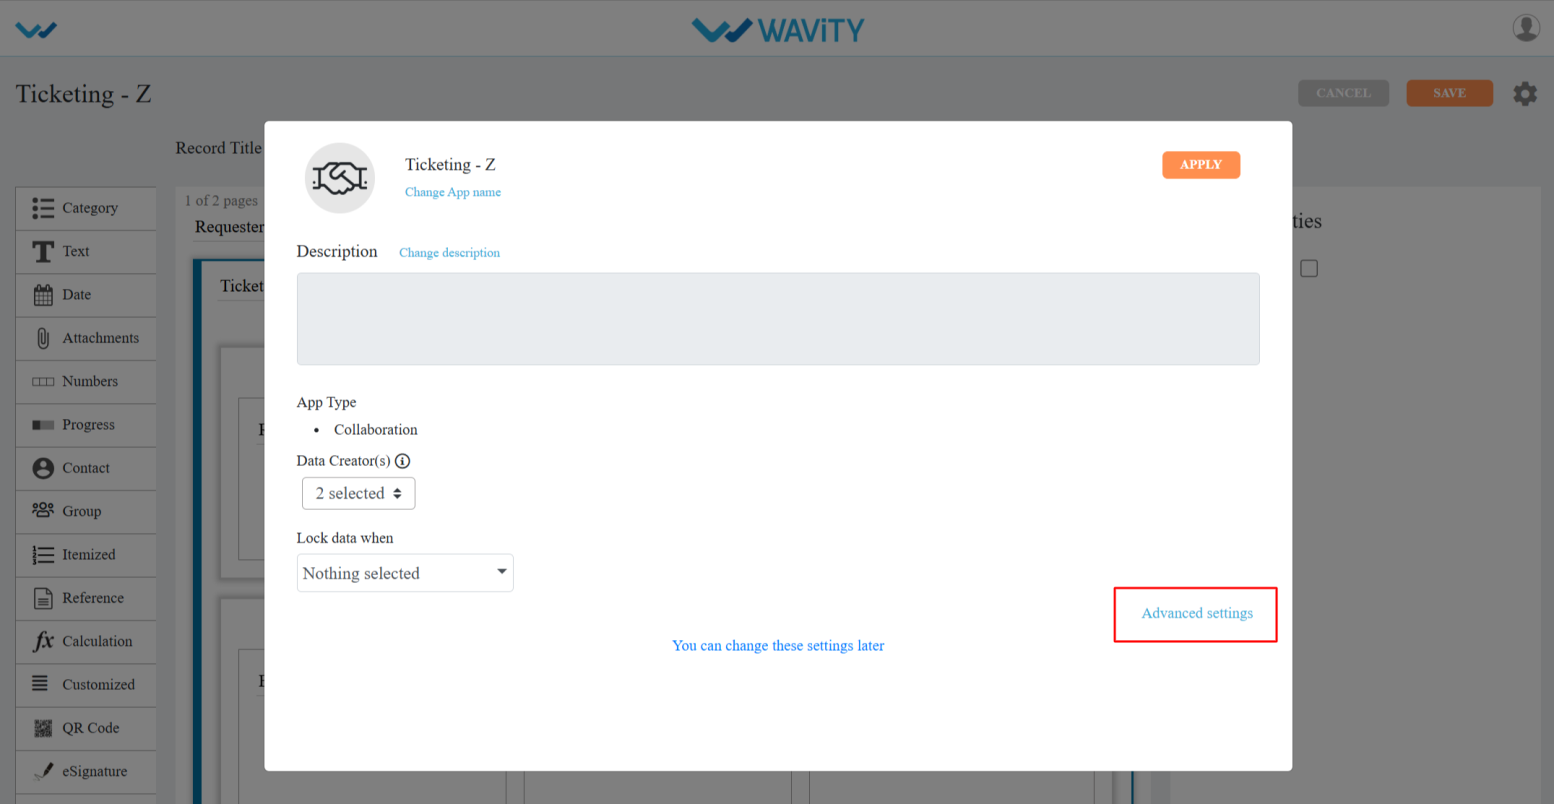
- Click on the Setting Icon.
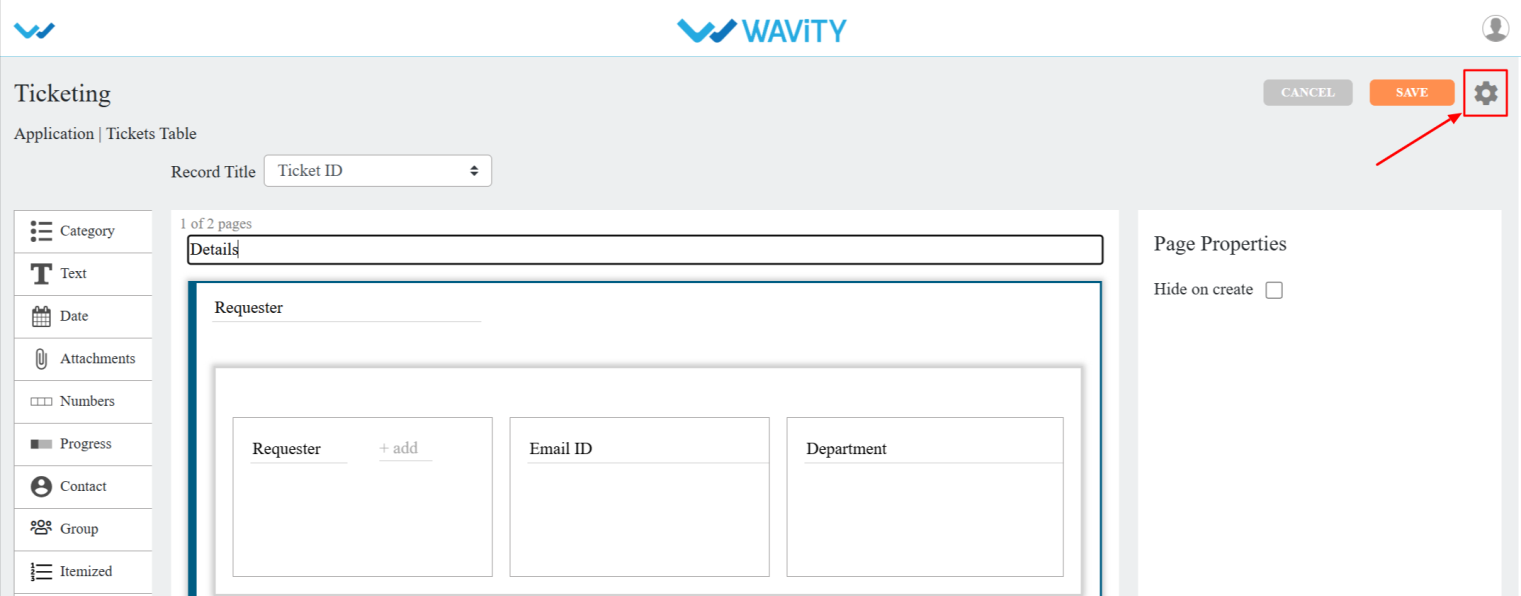
- Click on the Advanced settings.
- Select the Data tab, scroll down, and click on the Enable SLA option for configuring SLA and click on Done.
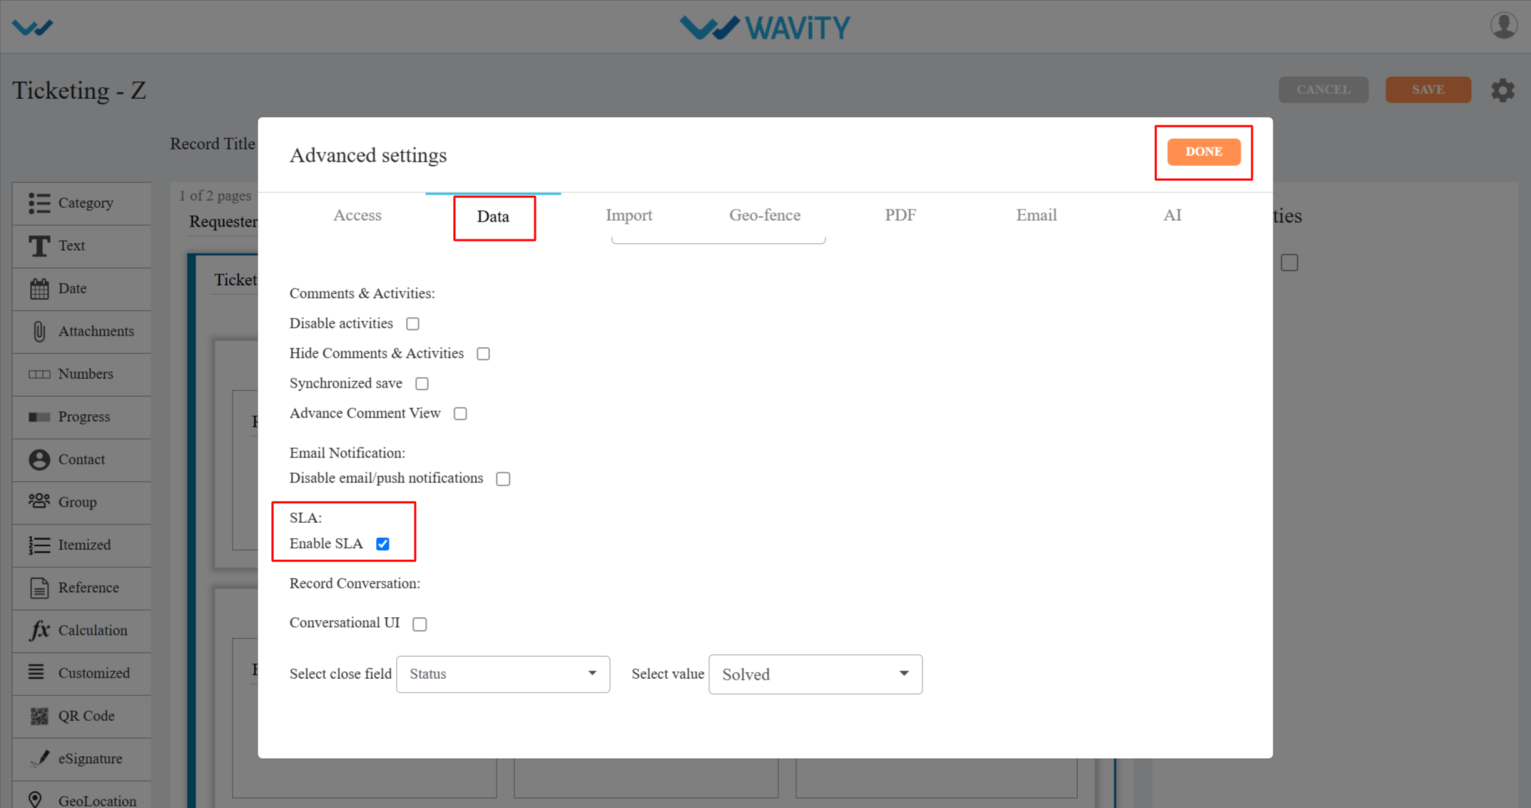
- Click on Save for applying changes.

- Now, you need to create a wbot for the SLA.
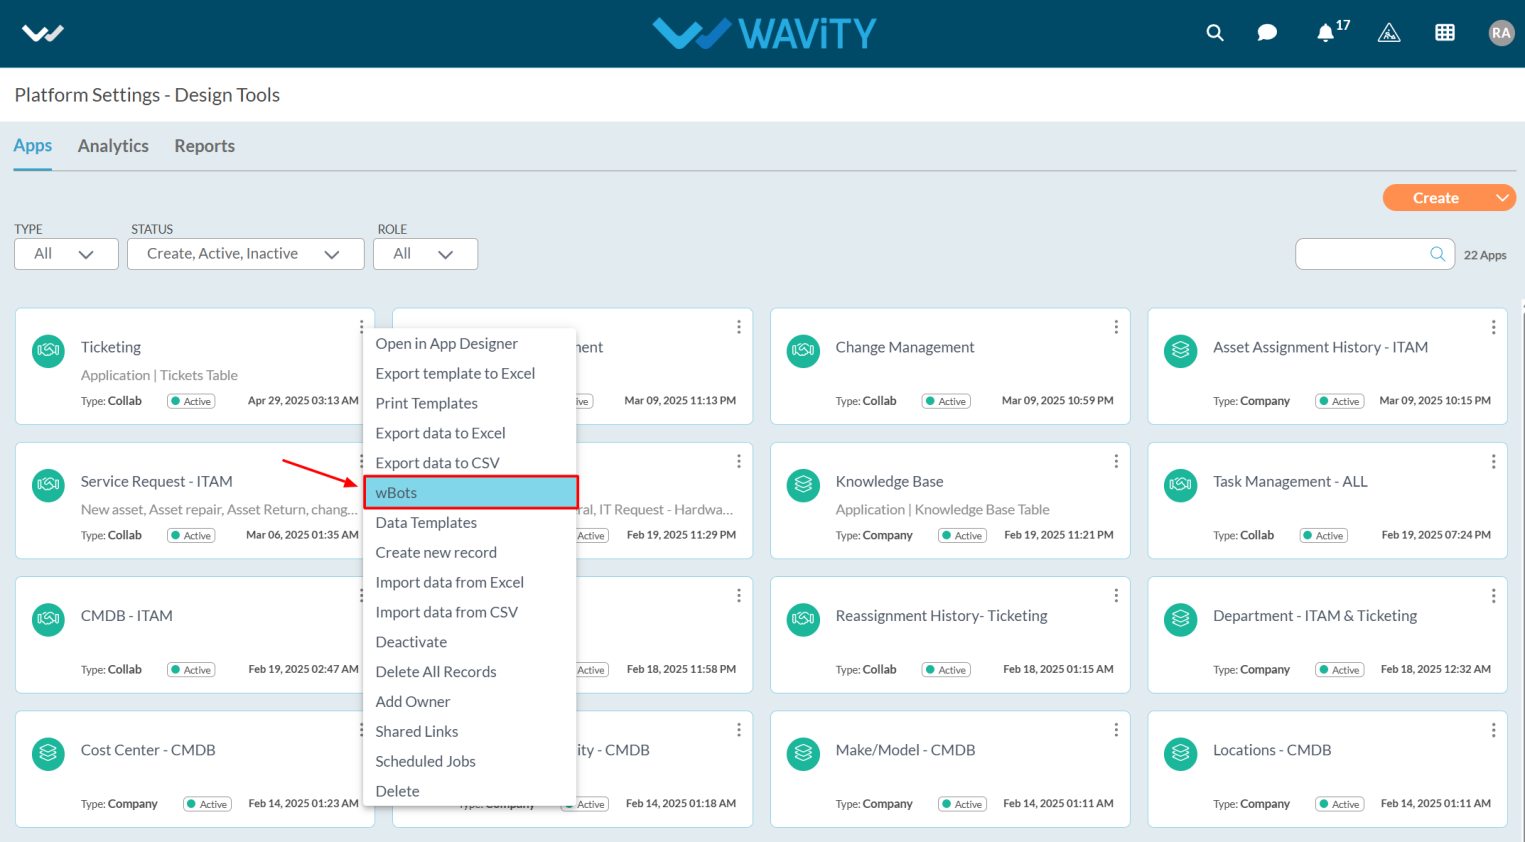
- Go back to Platform Settings – Design Tools, select the app where you enabled the SLA feature, click on the three dots, and choose wbots from the options.
- Click on Create button.
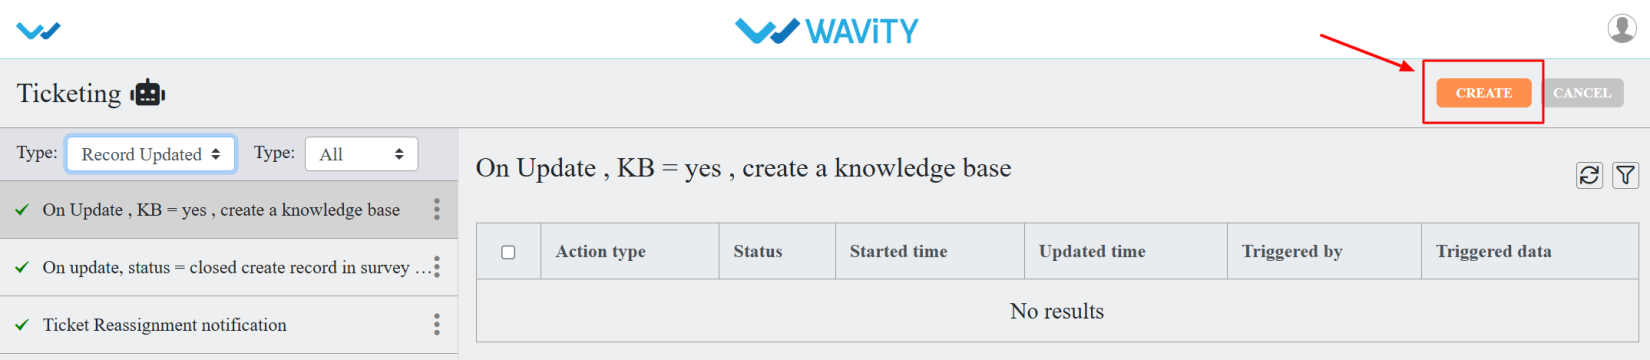
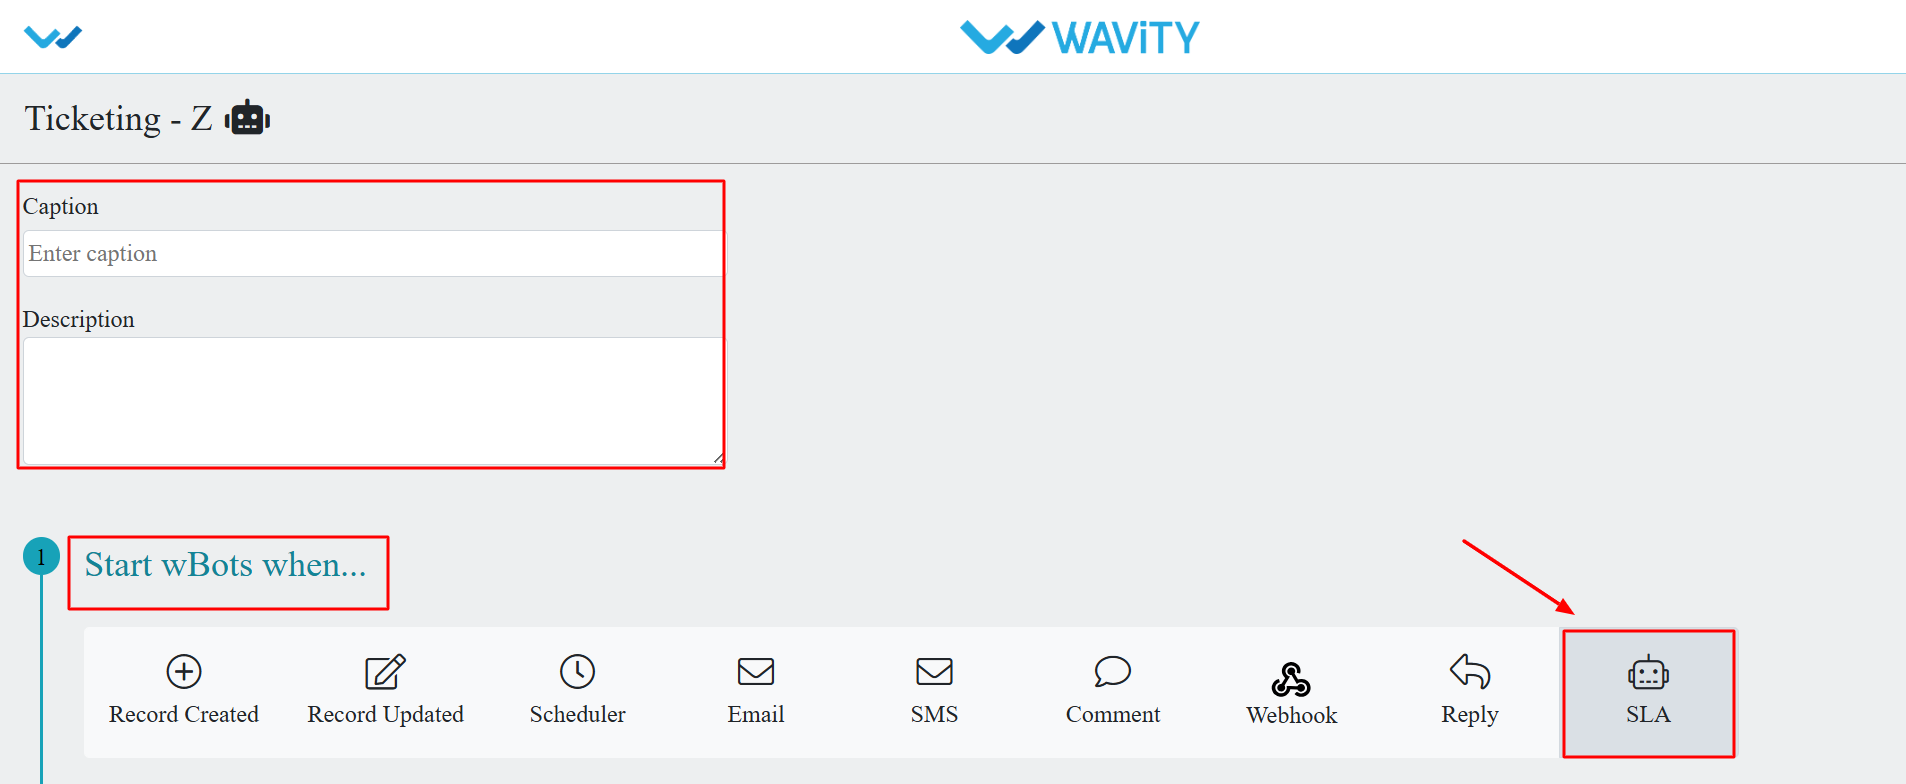
- Enter caption and description as you required.
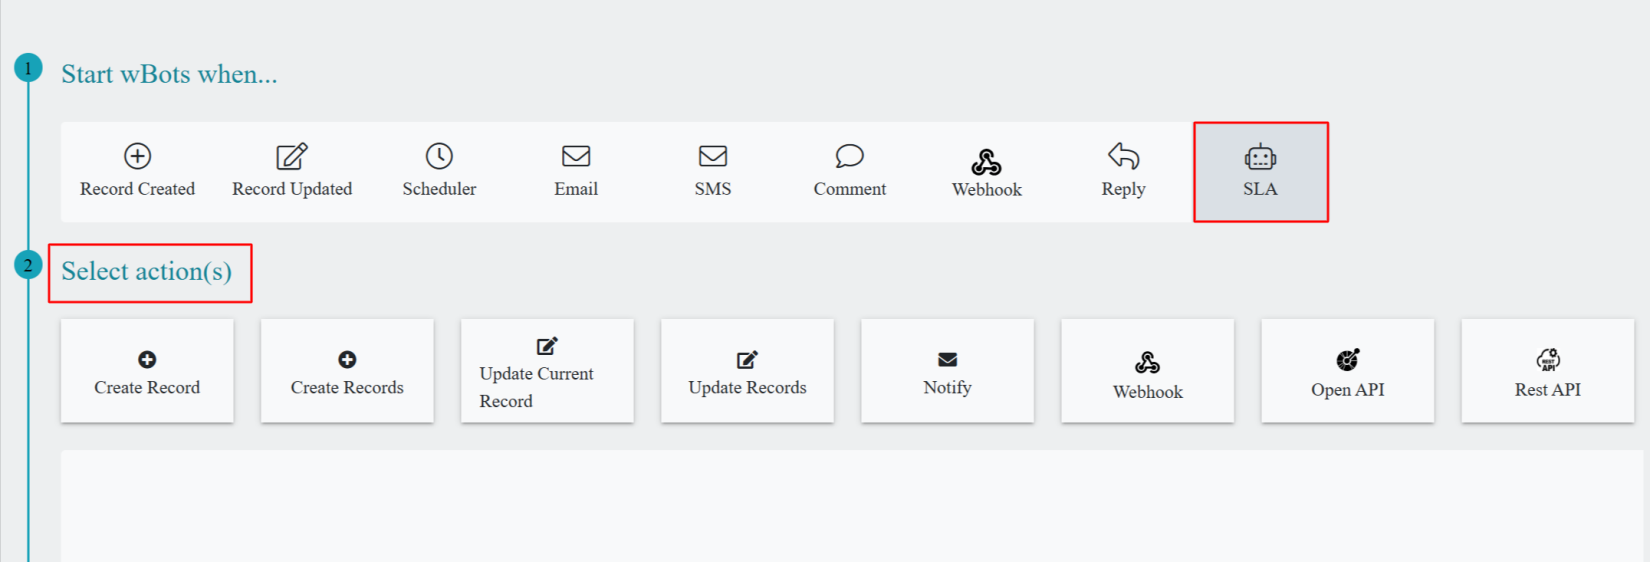
- Now select the SLA from Start Wbots when.
- After selecting the SLA, select the appropriate actions as you required it.
- After Selecting the action(s), click on save button.
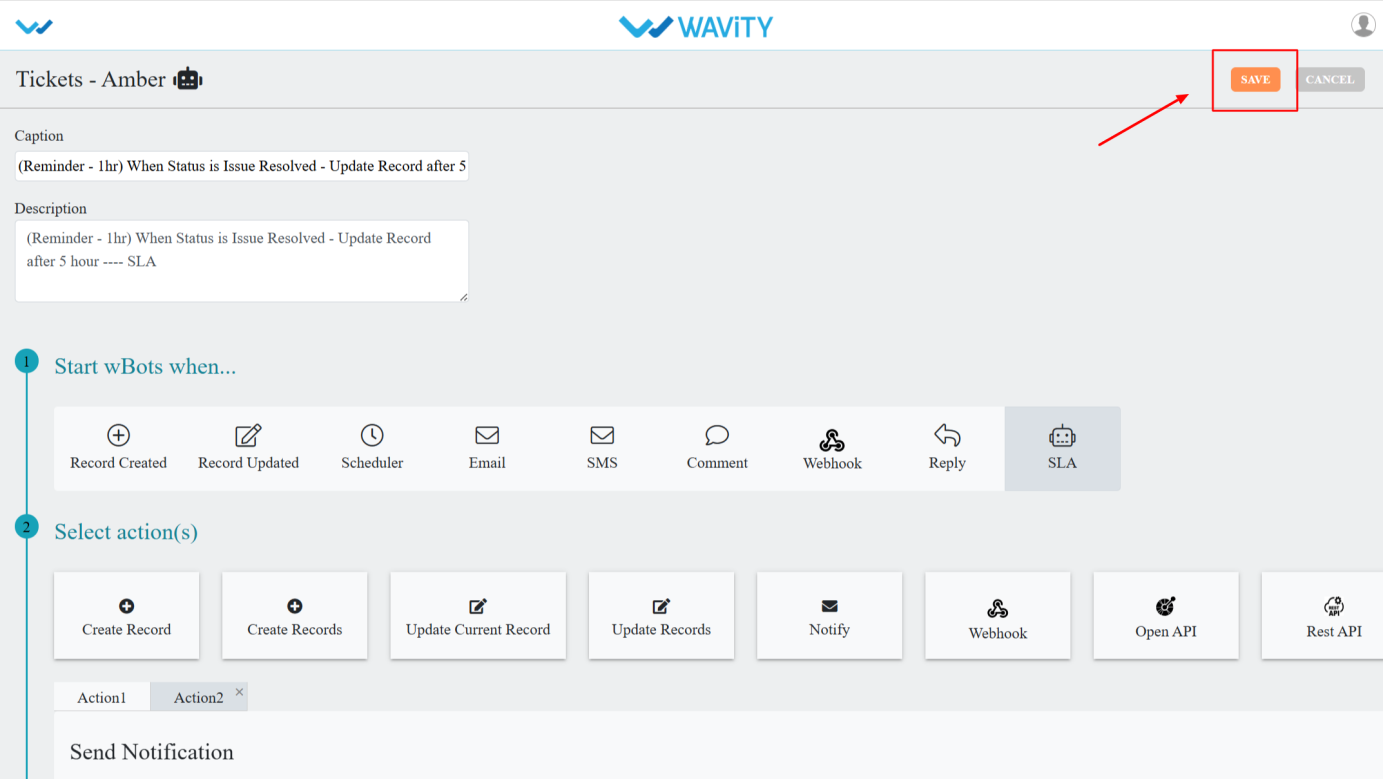
- The wbot will now be in an active state.
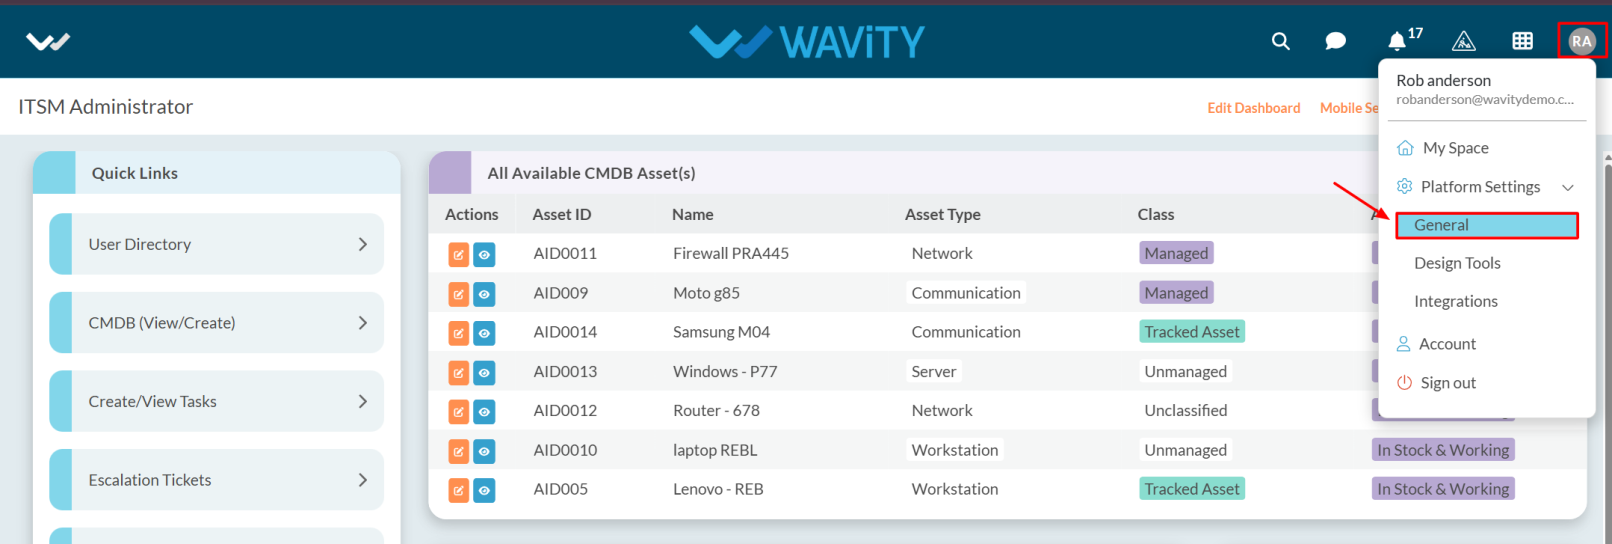
- Now go back, click on the Profile Icon.
- Select the General from options.
- After selecting General from the options, you will be directed to the Platform Settings – General page.
- Navigate to the Ticketing tab and select SLA.

- Click on Create button.

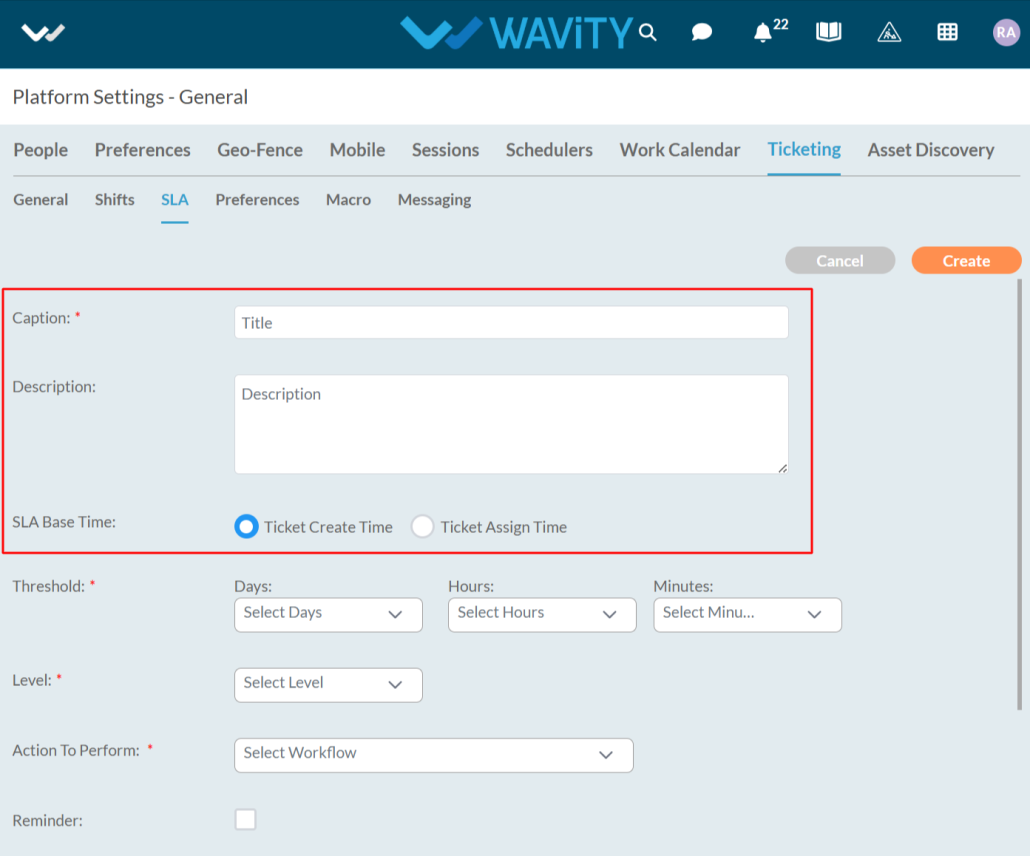
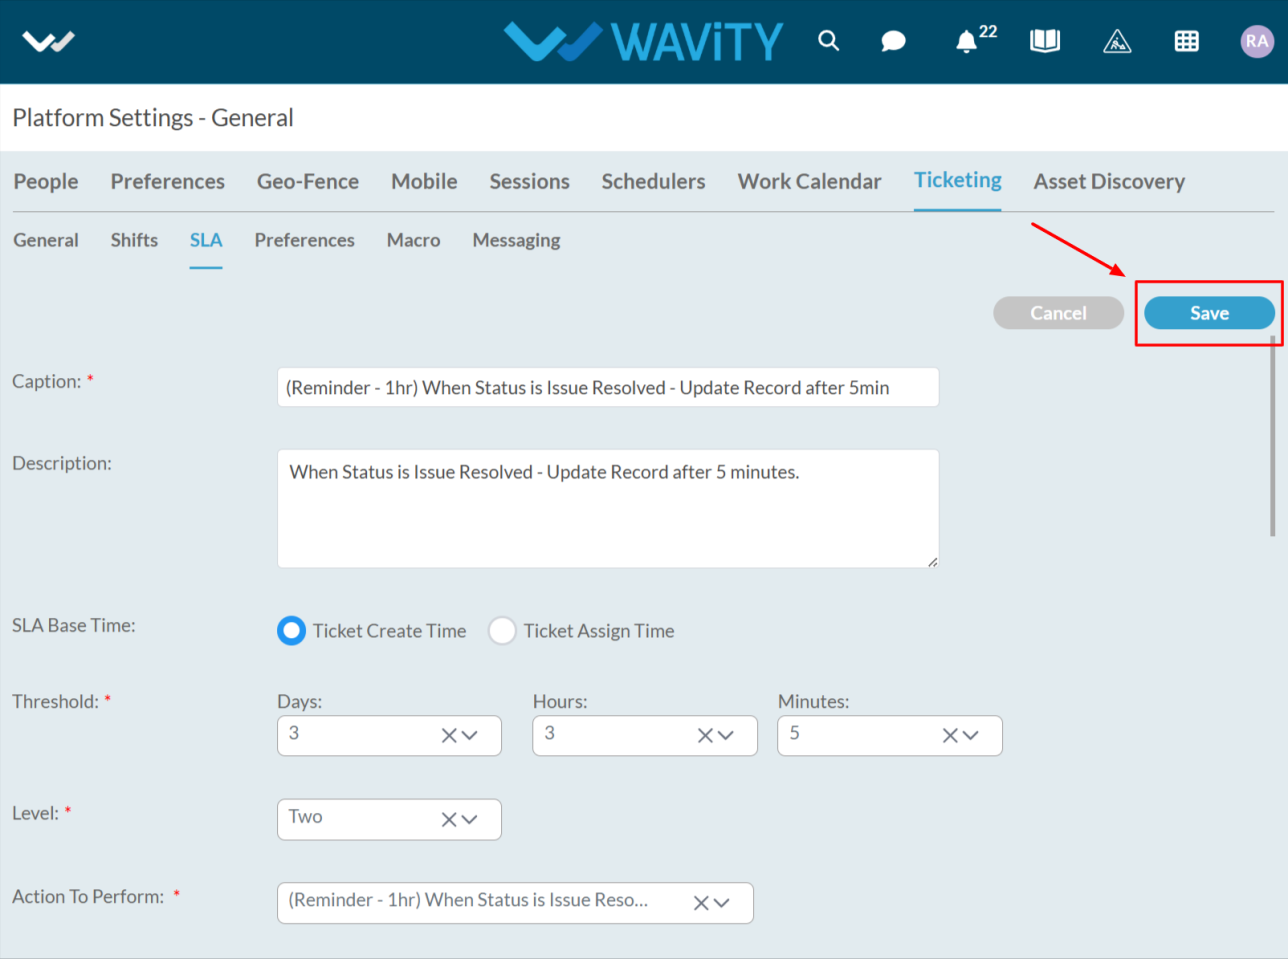
- Enter the caption and description as you required it.
- Select the SLA Base Time either Ticket Create Time or Ticket Assign Time based on when you want the bot to be triggered.
- Select the Threshold, Threshold refers to the specific time limit or condition that defines when an SLA is considered at risk or violated. It helps monitor performance and trigger alerts or actions before the SLA is breached.
- If a ticket must be resolved in 4 hours, a threshold might be set at 3.5 hours to send a warning before the SLA is breached.

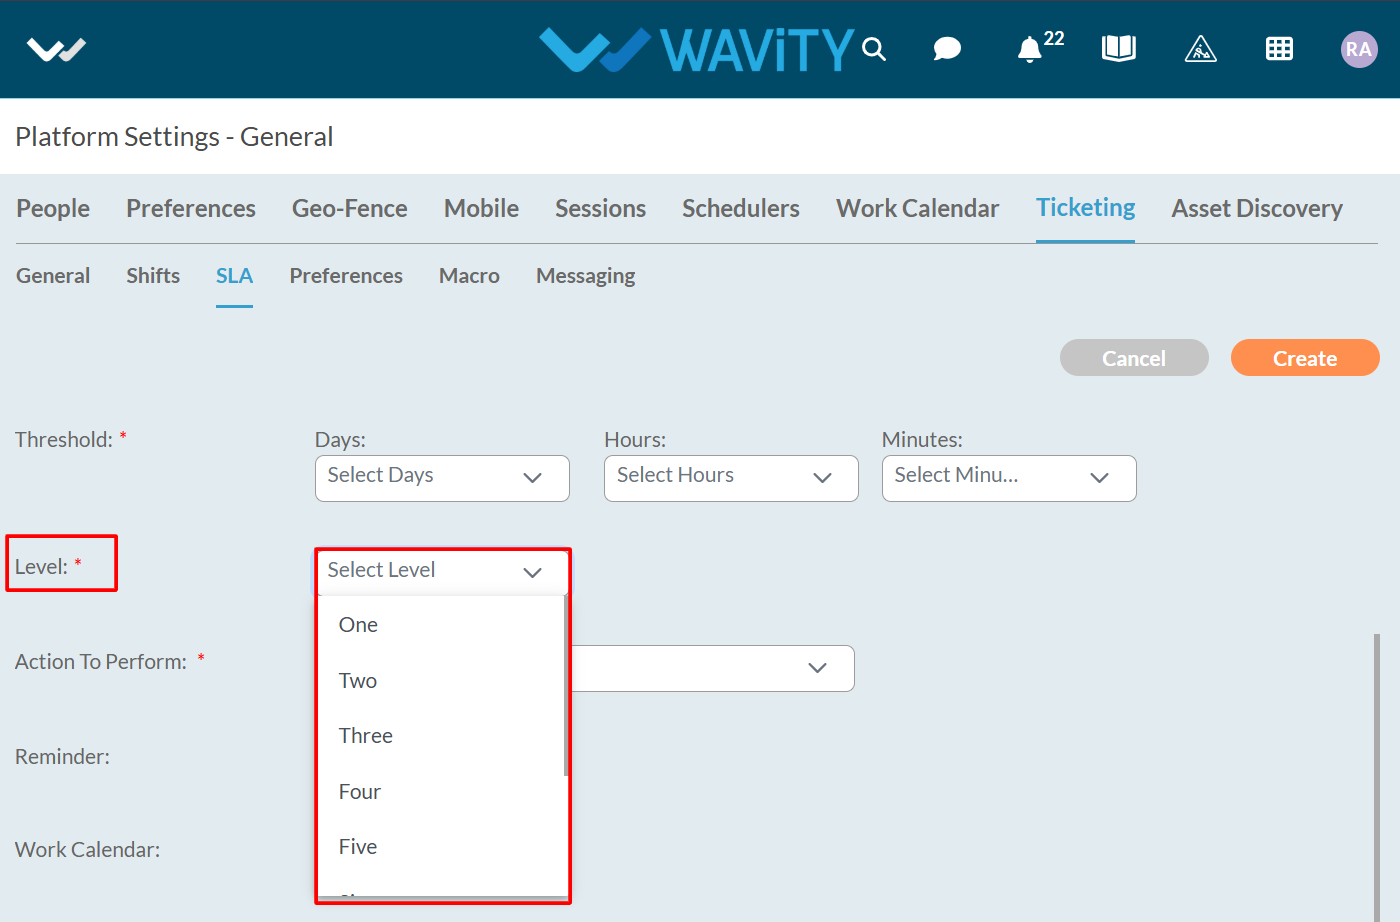
- Now select the Level, Level refers to the classification or tier that defines the urgency and priority of support based on the type of issue or customer.
- We can select the Levels up to nine.
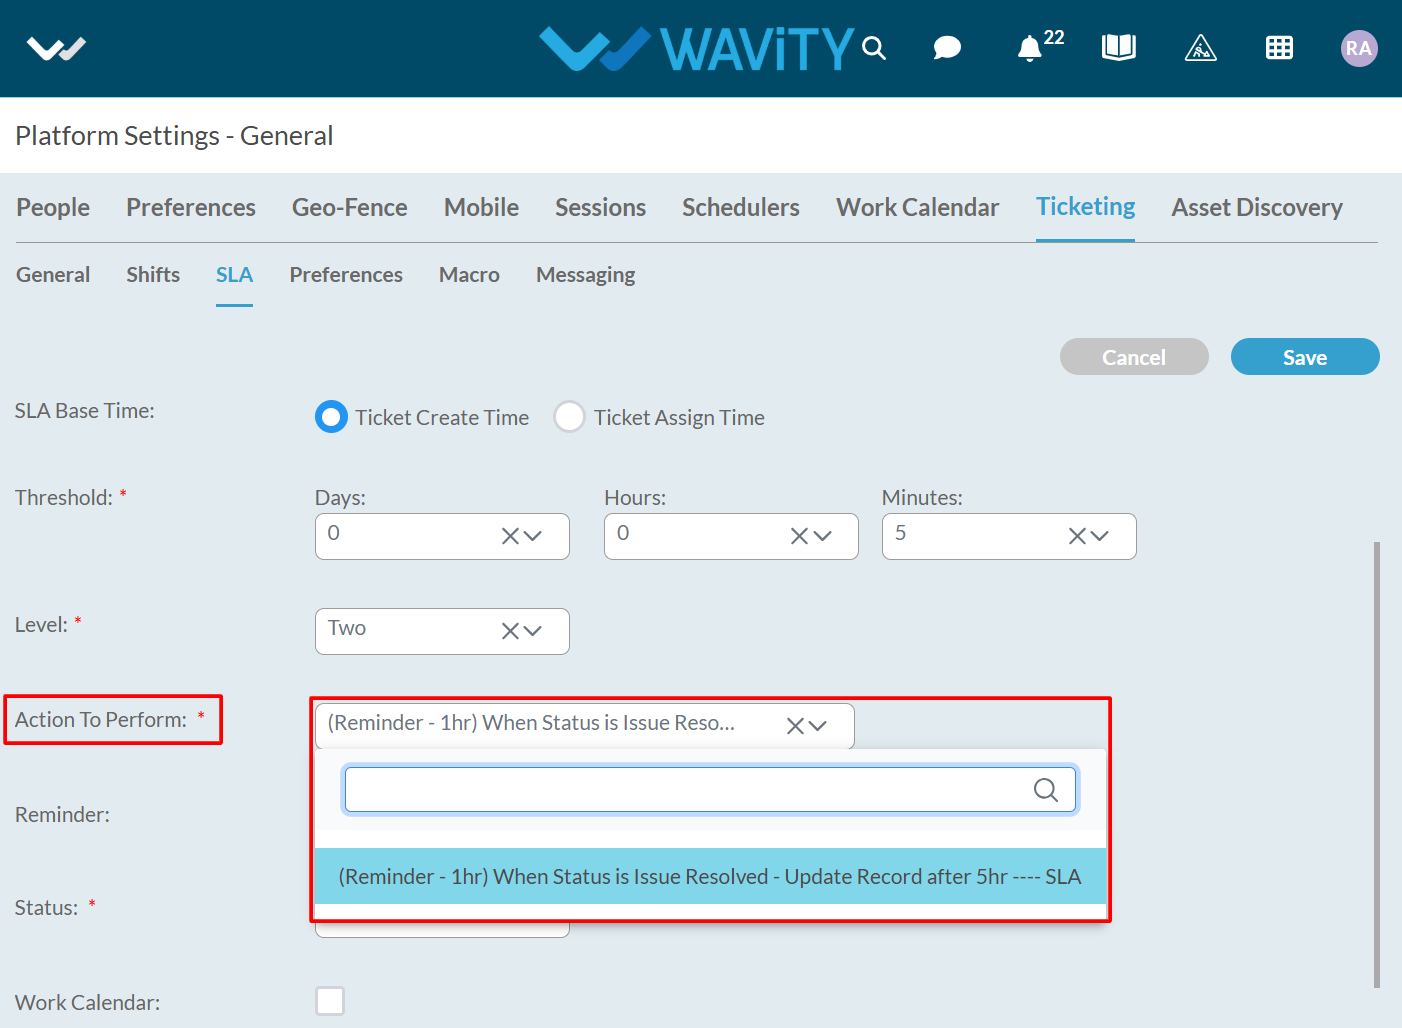
- In Action To Perform, select the Workflow that you created for the SLA bots.
- You can select the Reminder option if you want to send a reminder before the bot is triggered.
- Select the Threshold in minutes for sending the reminder this must be less than the main SLA threshold and then choose the Action To Perform.
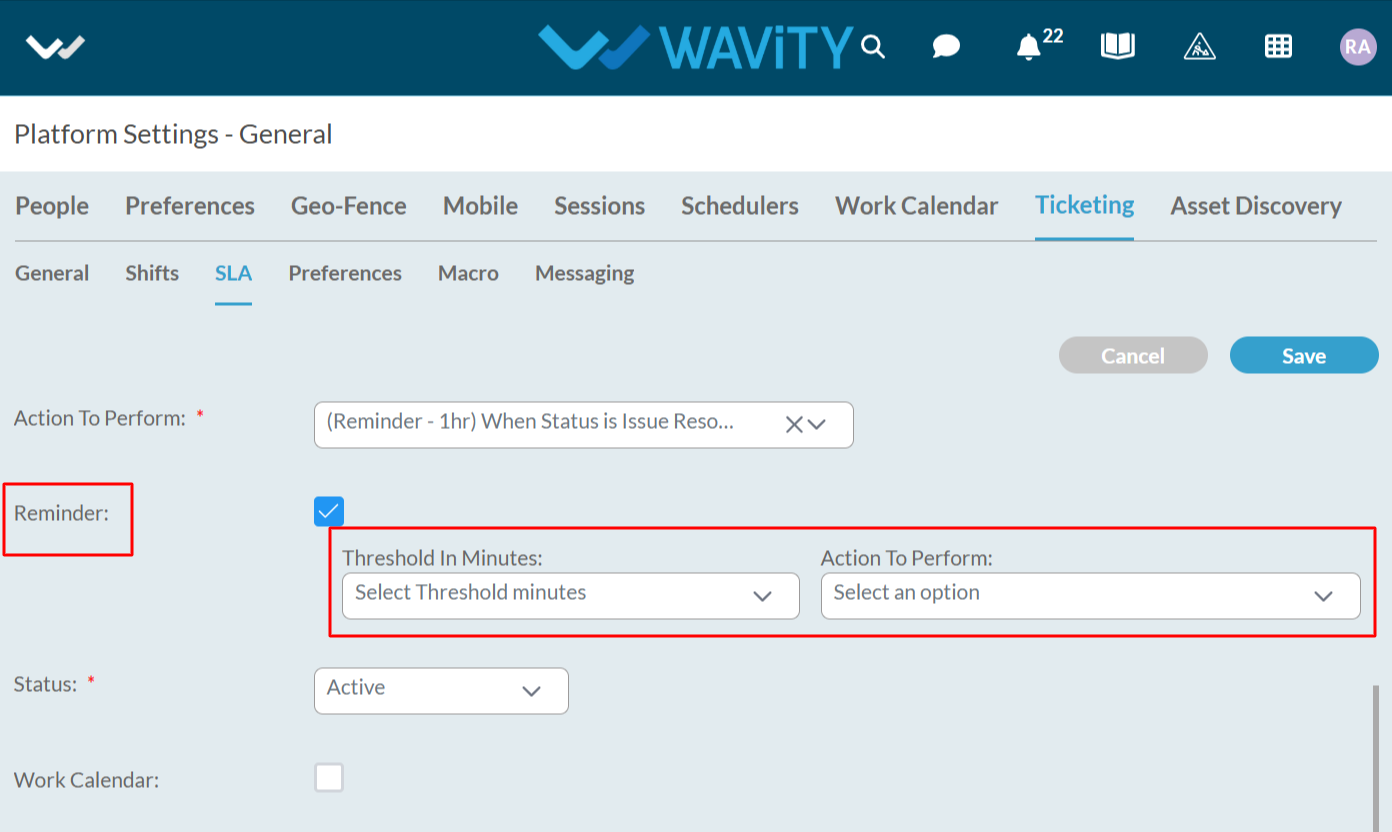
- You can select the status as inactive if you want to disable it.
- You can also enable the Work Calendar if needed. After enabling it, select the appropriate options as per your Calendar groups.

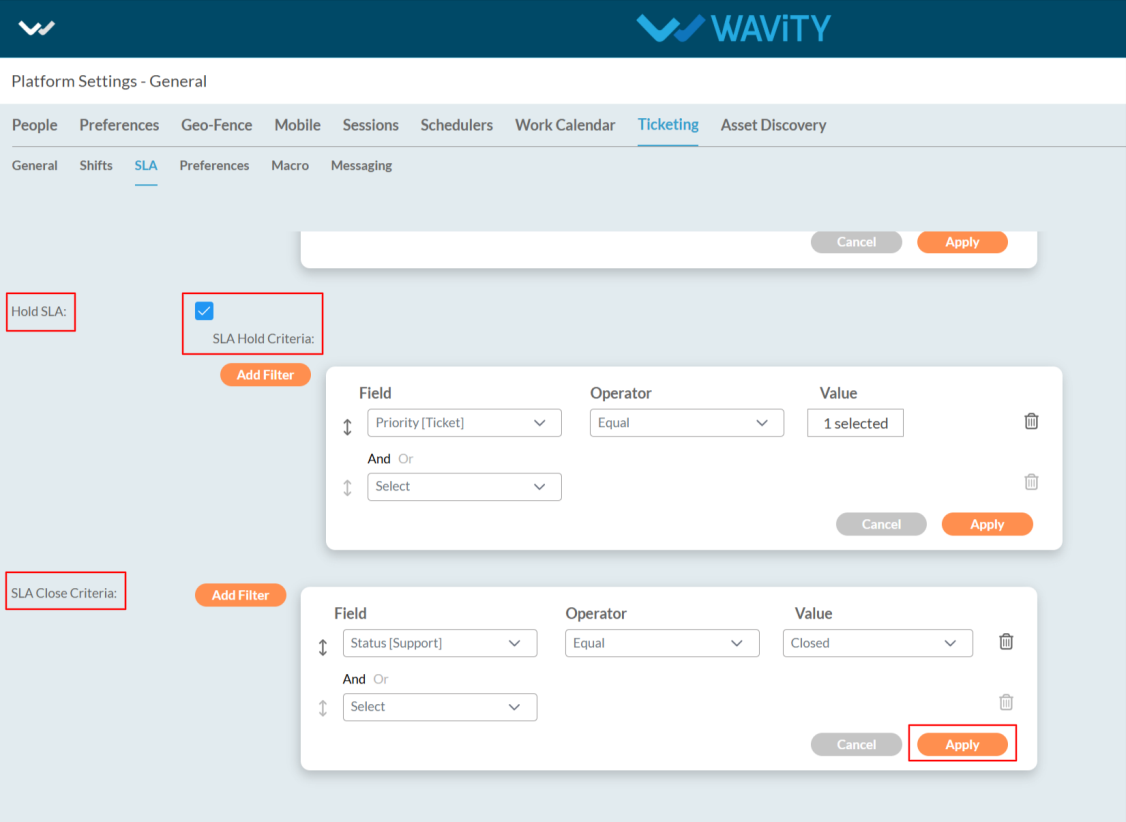
- The SLA can be initiated based on specific conditions if you apply a filter.

- You can also Hold or Close the SLA based on filters by clicking Add Filter, similar to how you set the SLA Start Criteria.
- After applying the filters, click on the Apply button.
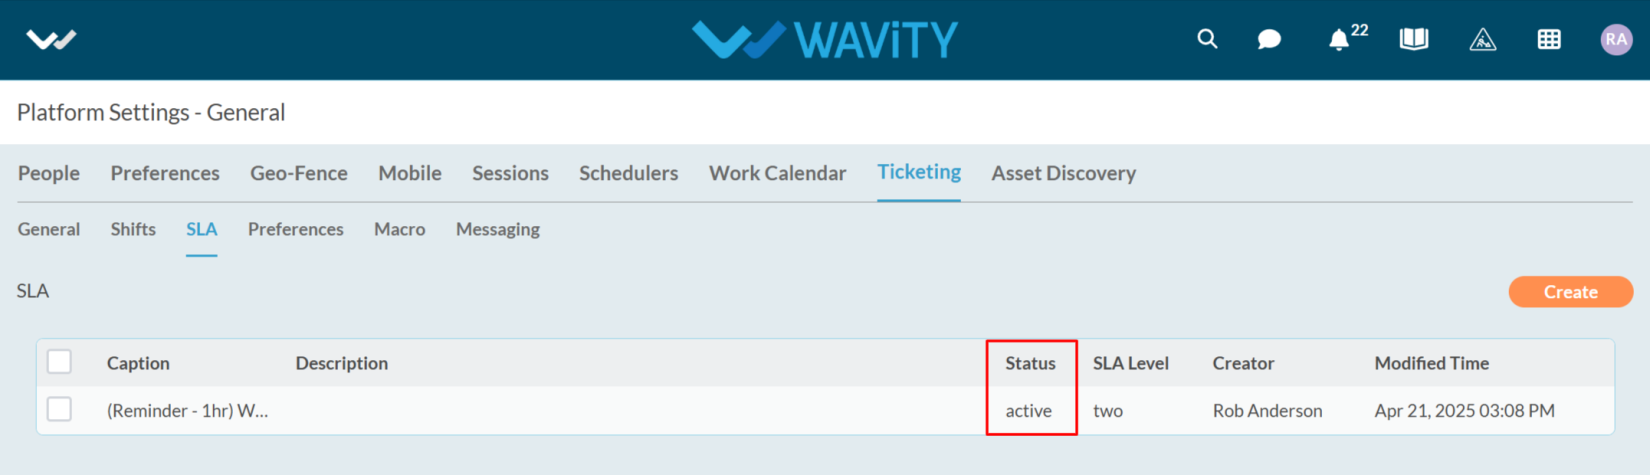
- Now, click the Save button after entering all the required details.
- Now your SLA has been in active state.