In Wavity platform, the Signature feature allows users (especially support agents or admin) to automatically add a preset signature to their ticket and email replies.
Once you set up a signature, it automatically appears at the bottom of the ticket responses.
Setting up Signature is a simple process.
Only Admin have the access to set up the signature.
In the Profile section of your account, enter the user's name to set up the signature.
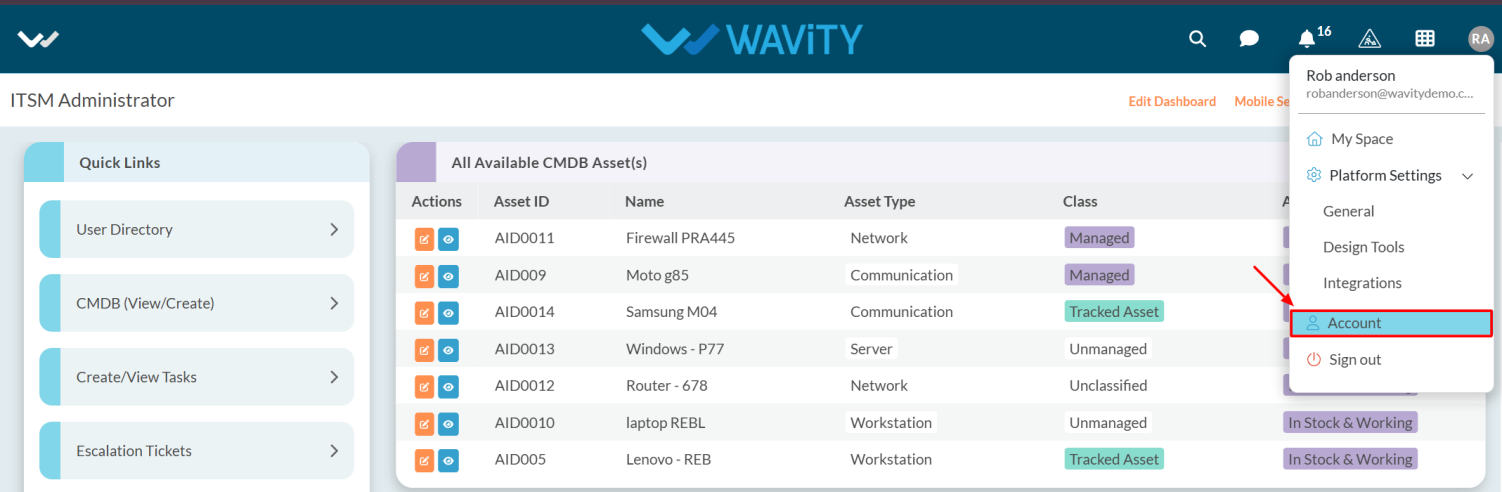
Click on Profile Icon.
Select the Account from options.
After clicking, you will be directed to the Account page. From there, select the Profile section.
Scroll down to find the Signature.
Enter your name in the content box and click the Save button to apply the changes.
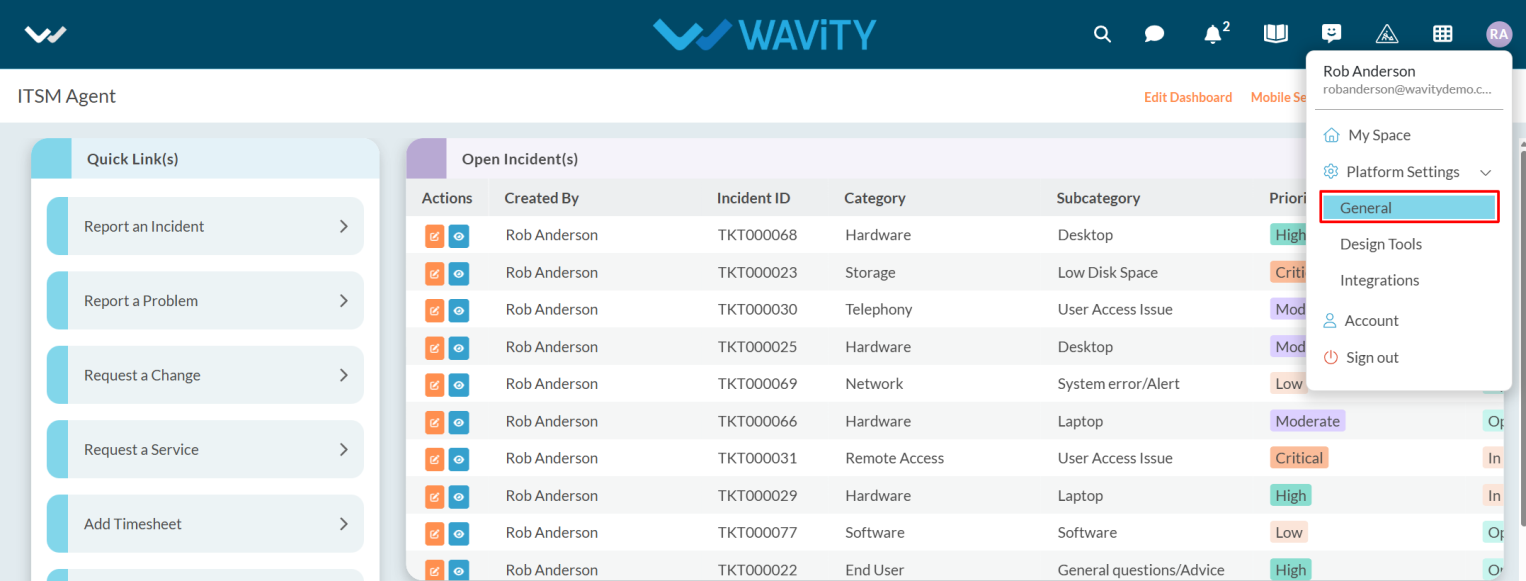
Now as Admin to set signatures. Click on the Profile Icon.
From the options, select the General.
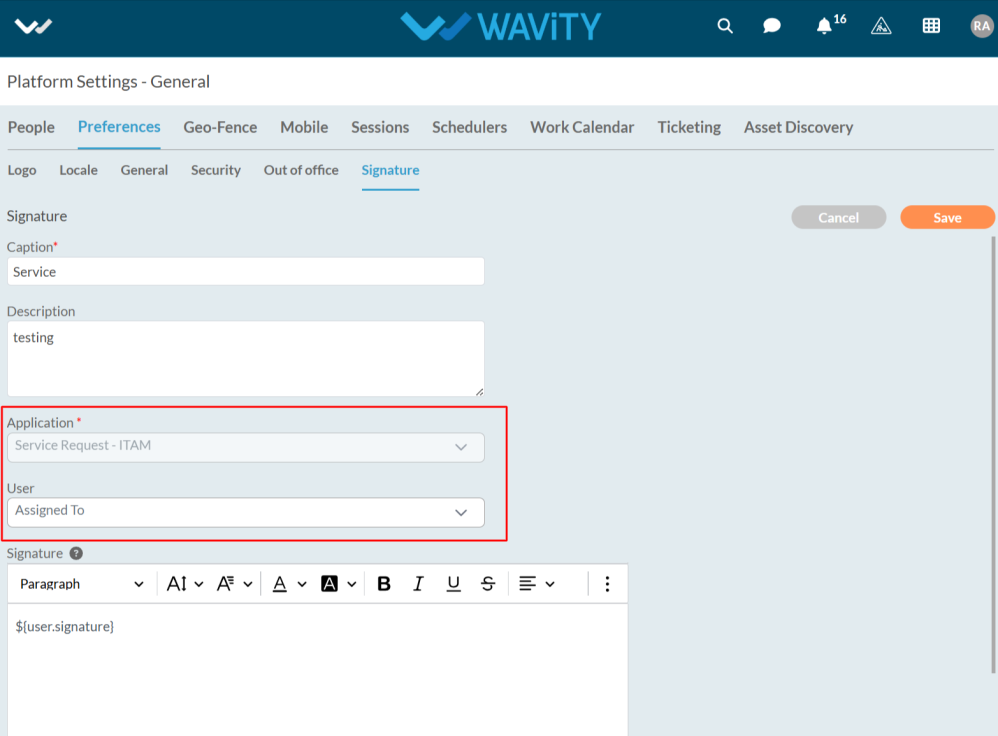
After selecting General from the options, you will be directed to the Platform Settings – General page.
Navigate to the Preferences tab and select Signature.
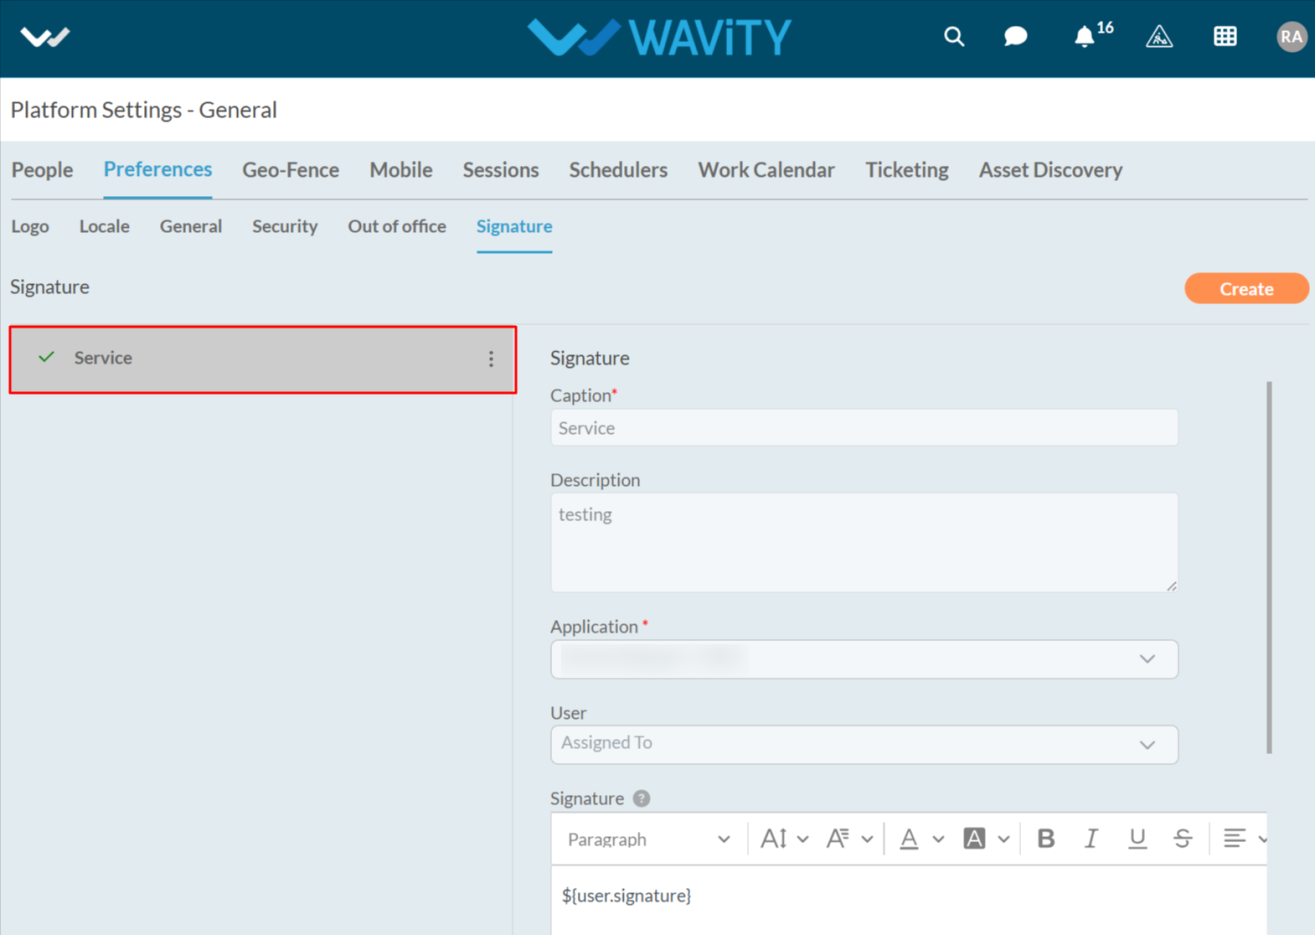
To set up a signature click on Create.
Enter the caption and description as you needed.
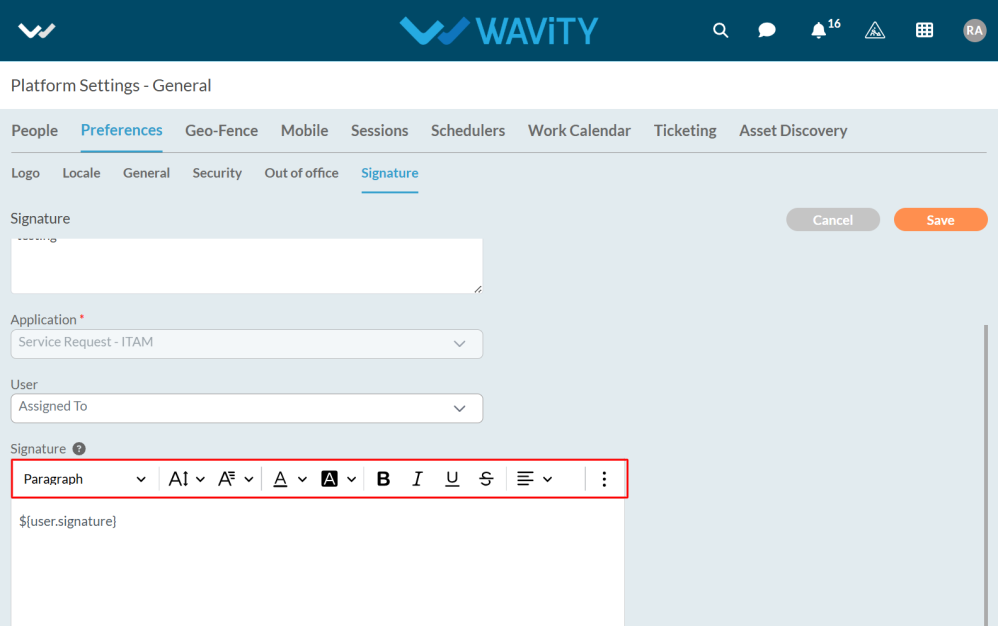
After Entering the details select the Application and User.
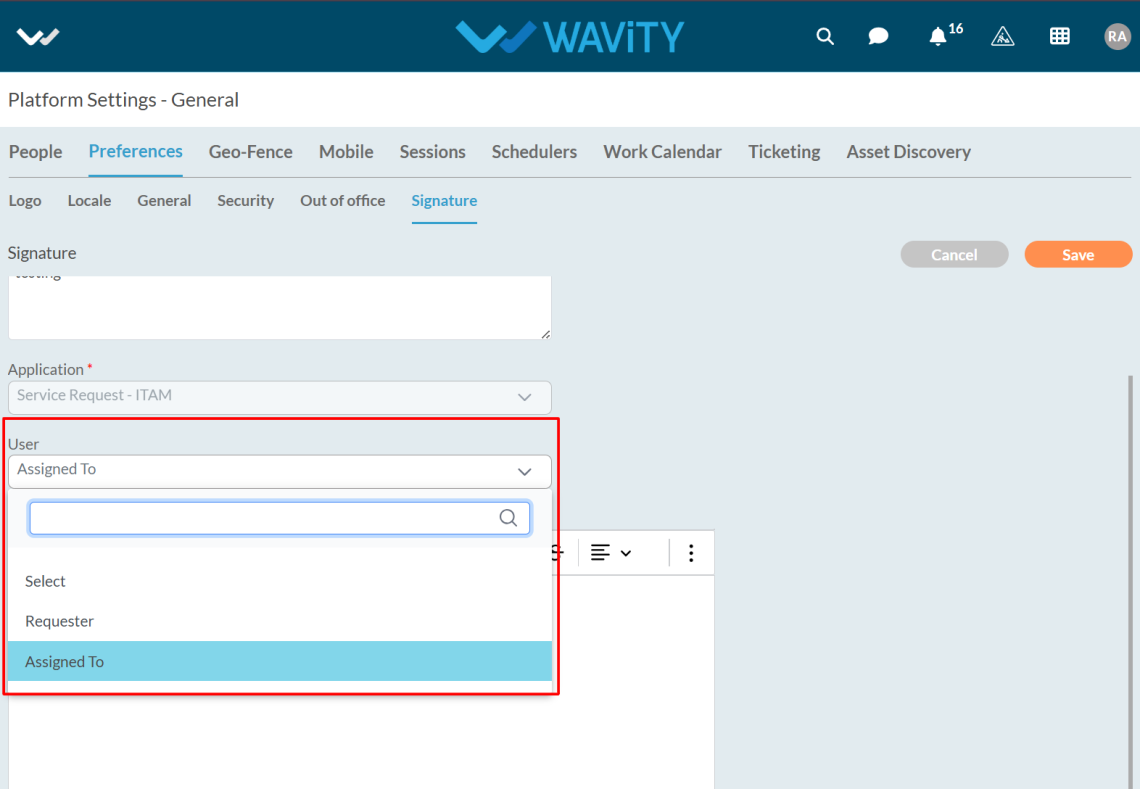
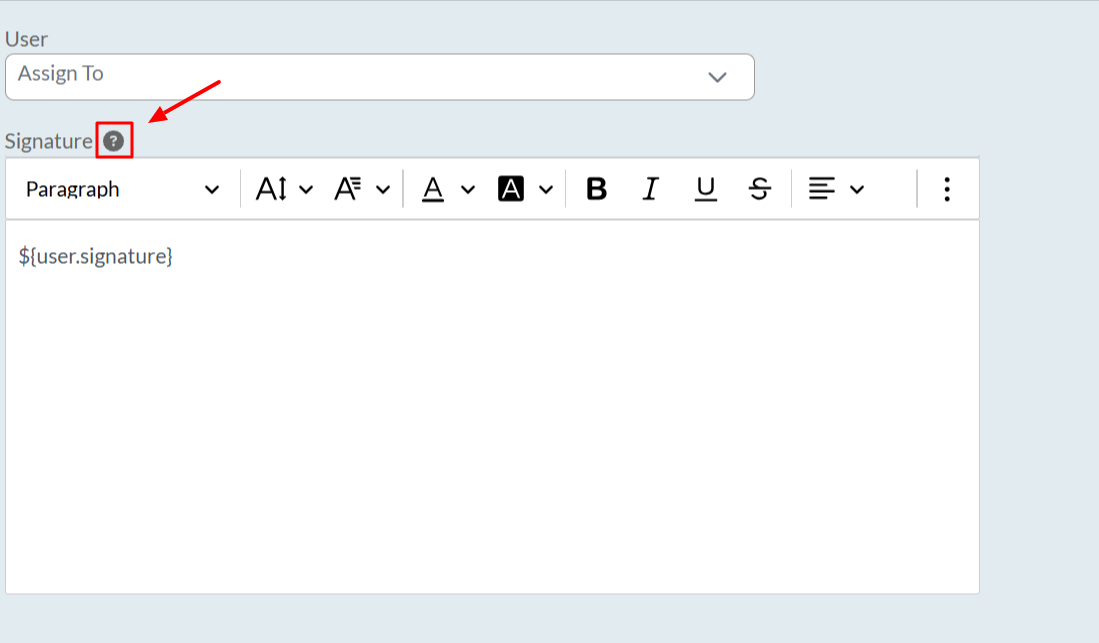
In User, select the option to determine which username should appear in ticket responses.
To add a user signature, click on the question mark symbol.
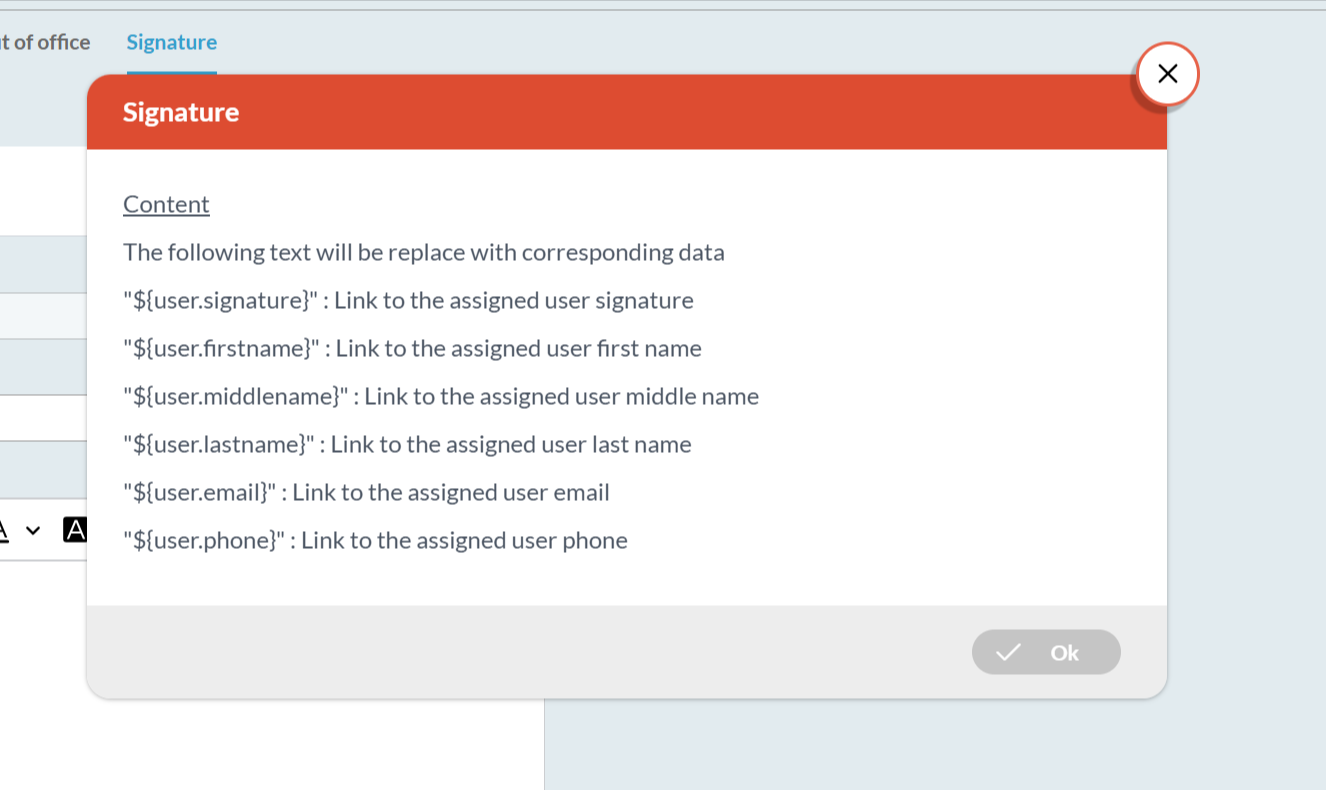
After clicking on the symbol, a box appears where you can view all the links.
You can add the user's first, middle, and last name, along with their email and phone number.
Copy the link as you required.
You can paste the link into the box, and there is also a text options available that you can select according to your requirements.
After entering the details, click the Save button to apply the changes.
The signature has been successfully created and is now ready for use in all ticket responses.
After this, you need to enable the Add Signature option in Wbots for the application you set up the signature for. This ensures that when a ticket's status is updated or closed, the agent's name (as set in the signature) will appear at the bottom of the notification email.