
How to Integrate Outlook Calendar with Wavity
- To initiate Outlook Calendar Integration within the platform, administrators must first enable it in the platform settings. Once this integration is activated, users within the same tenant can establish a connection by adding an instance to link their individual Outlook accounts with Wavity.
- Click on the Profile icon, Select Integration, then go to the Drives tab and click Enable Outlook Calendar.

- For users to link your Outlook Calendar with Wavity, click on the Wavity symbol to navigate to the My Space page. Under the Calendars tab, click on Link to Outlook Calendar, as shown below. Content from Outlook services is only visible to the user who has configured the instance.

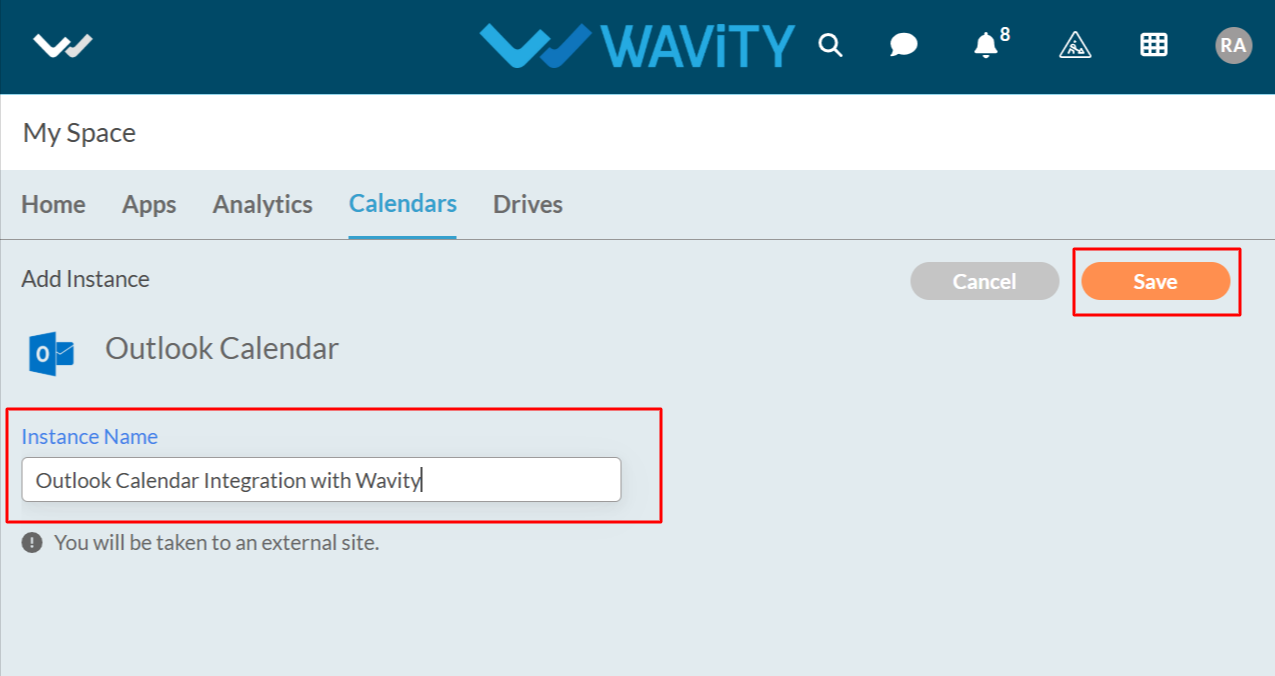
- Enter the Instance Name and click Save button to link Outlook Calendar with Wavity.
- In the pop up link, enter your login credentials such as your email or phone and password.

- Upon completion of linking process, a message pop up will be shown for 3 seconds with confirmation of linking outlook calendar with Wavity.

- Users also have the option to unlink an instance if they wish to do so.
- To unlink an instance, Click on the checked box containing Linked to Outlook Calendar as shown in below image.

- In the message pop up, click on Unlink button to unlink your instance.
