How To Create Role-Based Interface/Dashboards/Layouts
How to create role-based Interface/Dashboards/Layouts
You can create your own Interface with Quick links, Analytics, Reports and Table Widgets from scratch. Click ‘9 dots’ image as shown below to look into all existing role-based Interfaces
Click on “More from Wavity” below 9 dots as shown below to create new Interfaces.
Wavity Warehouse will be displayed with all the Applications in the platform. Green tick will indicate whether the Interface/dashboard is currently active.
To create a new dashboard, Click on “Create Solution” as shown below.
In the following page, You can mention the Solution Name which indicate the Dashboard Name. Also, You can mention the description of dashboard if required. Select and add groups which will indicate a role based dashboard for the group of users.
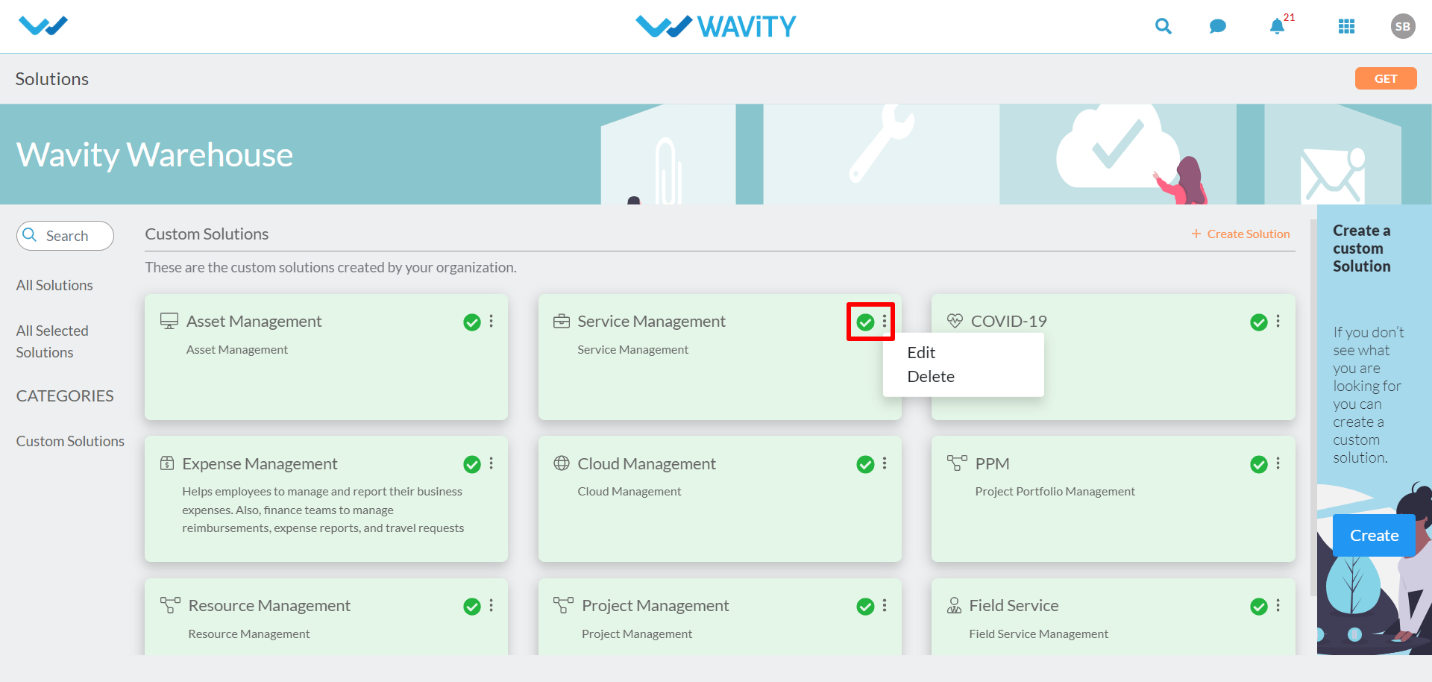
Provision for editing the Names and Groups of the existing dashboard is provided in the platform. Click on ‘3 dots’ and select Edit option to edit the Dashboard name and update the groups.
Existing dashboards can be edited in the platform. Click on “Edit Dashboard” from your dashboard as shown below. For more detailed information of adding Widgets, please refer the “Types of Widgets” article.
You can do the following options to edit the dashboard. Click on ‘Multiple Arrows’ Icon to drag and drop the dashboard. Click on ‘Configure Widget’ settings icon to edit/update the widget. Click on ‘Delete’ icon to delete a particular widget.
As shown in the above images, Creating New Dashboards and Adding widgets can be performed as per your business requirement to build customized solutions in Wavity.